How Can Stretched LCD Displays Resist Torsion and Warping?
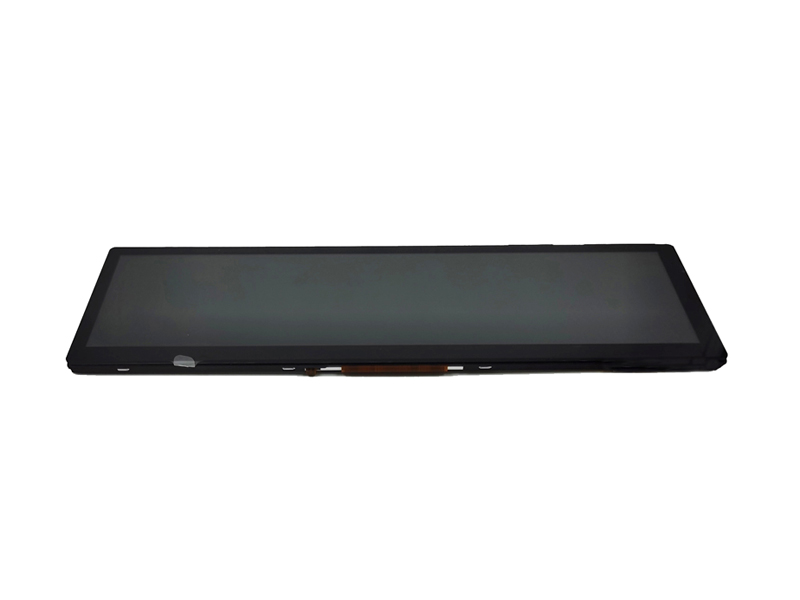
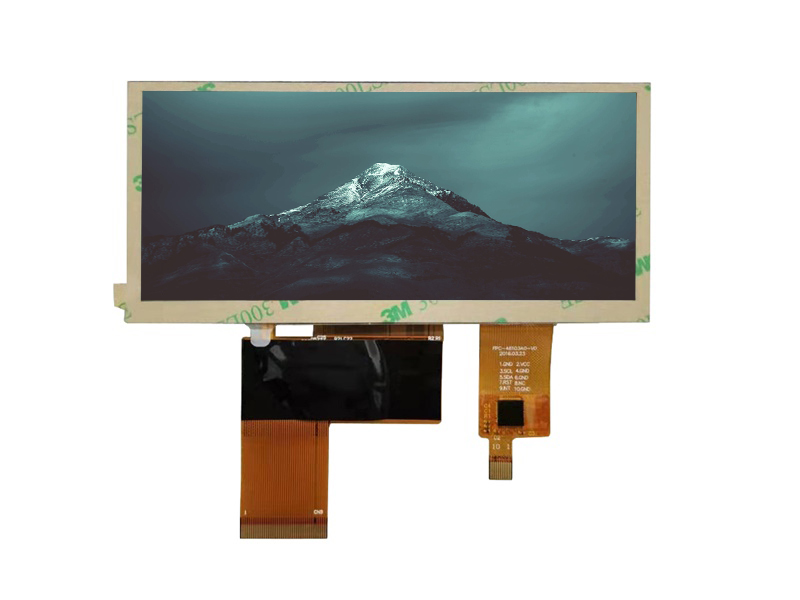
Long bar-type LCD displays need a chassis designed to resist bending, torsion, thermal expansion, and local clamp stress. A rigid aluminum frame, controlled mounting clearance, balanced fastener placement, and adequate section depth prevent panel…

Long bar-type LCD displays need a chassis designed to resist bending, torsion, thermal expansion, and local clamp stress. A rigid aluminum frame, controlled mounting clearance, balanced fastener placement, and adequate section depth prevent panel warp, yellow spots, light leakage, and glass stress. The best solution stiffens the housing without over-constraining the TFT cell.
LCD glass cutting technology and mechanical chassis engineering
What Causes Torsion and Warping in Stretched LCD Displays?
Torsion occurs when opposite ends of a stretched LCD assembly rotate in different directions, while warping is an out-of-plane bend caused by uneven loads, heat, or residual assembly stress. Both can transfer concentrated force into the LCD cell and create yellow stains, mura, backlight leakage, or glass fracture.
A long narrow display has a poor length-to-height ratio compared with a conventional 16:9 monitor. A 1,280 × 320 bar panel may be four times wider than it is tall, so it behaves less like a compact screen and more like a slender beam.
The main causes are usually structural rather than electronic:
-
Uneven mounting surfaces in the host enclosure
-
Thin metal housings with insufficient section depth
-
Fasteners tightened in an incorrect sequence
-
Rigid bezel lips pressing on the LCD active area
-
Thermal expansion differences between aluminum, glass, plastic, and adhesives
-
Cable pull at one end of the panel
-
Shipping loads applied through the front cover glass
-
Twisting created when an installer lifts the display from one corner
In factory troubleshooting, the most common visible symptom is not immediate breakage. It is a local pale-yellow or cloudy area near a corner, side edge, or screw boss. This usually indicates compression transferred through the bezel, foam, metal bracket, or rear support structure.
A display may look acceptable immediately after assembly but develop a yellow spot after several thermal cycles. That is why mechanical validation must include both static assembly checks and temperature-based stress testing.
How Does Chassis Thickness Affect Bending Stiffness?
Chassis thickness affects bending stiffness strongly because plate bending stiffness rises approximately with the cube of thickness. Increasing an aluminum sheet from 1.0 mm to 1.5 mm can theoretically raise plate stiffness by about 3.4 times, although real assembly stiffness also depends on bends, ribs, fasteners, and cross-sectional geometry.
The governing engineering relationship is:
where EE is the material’s elastic modulus and II is the second moment of area. For aluminum alloy, EE is typically about 69 GPa. Steel is roughly three times stiffer at the same geometry, but aluminum remains widely used because it is lighter, corrosion-resistant, easy to machine, and compatible with anodized cosmetic finishes.
For a flat rectangular section:
where bb is the section width and tt is thickness. Since thickness is cubed, adding material near the neutral axis is less effective than moving material farther from it through return flanges, folded edges, ribs, or closed-box structures.
For stretched TFT displays, a 1.5 mm flat aluminum rear plate is often insufficient if the visible panel width exceeds 500 mm. A folded profile with 8–15 mm return flanges can increase real stiffness more efficiently than increasing the sheet to 2.5 mm.
In practical design reviews, we prioritize structural depth before blindly increasing material thickness. A 1.2 mm aluminum chassis with well-positioned flanges can outperform a 2.0 mm flat plate while reducing mass and material cost.
Why Do Yellow Spots Appear After Mechanical Stress?
Yellow spots appear when external pressure alters the LCD cell gap, polarizer condition, optical films, backlight layers, or liquid-crystal alignment. In stretched displays, the usual cause is local compression from a bezel, bracket, foam strip, screw boss, warped chassis, or cover glass under torsional load.
The LCD cell consists of thin glass substrates, liquid crystal, polarizers, optical films, and a backlight structure. Although the full module appears solid, its optical stack is sensitive to uneven force.
Several failure modes can produce similar visible marks:
-
Cell pressure mura: Local force changes liquid-crystal alignment and produces a yellow, gray, rainbow, or cloudy area.
-
Backlight compression: A bracket or rear case compresses diffuser and prism films, causing non-uniform brightness.
-
Polarizer stress: Pressure or heat creates local color shift, especially on white or gray images.
-
Bezel interference: An ultra-narrow bezel contacts the active-area edge during thermal expansion.
-
Foam over-compression: Adhesive foam intended for cushioning becomes a rigid load path after installation.
A useful diagnostic method is to display full white, 50% gray, black, red, green, and blue patterns. Pressure-related defects may be faint on black but clearly visible on white or gray. If the defect changes after loosening the chassis screws, the root cause is almost always mechanical interference rather than panel electronics.
CDTech recommends defining a non-contact exclusion zone around the LCD active area. The exact value depends on module construction, but the metal bezel or front frame should never clamp directly onto the active display region.
Which Chassis Structures Best Resist Long-Panel Distortion?
Closed-box aluminum extrusions, folded metal frames with return flanges, rear cross-members, and properly placed mounting bosses offer the best resistance to long-panel distortion. The most efficient design increases section depth and distributes loads around the perimeter without transmitting stress into the TFT glass.
A flat rear cover can resist direct pressure but performs poorly against torsion. When one corner is lifted or the host enclosure is uneven, the thin plate can twist and transfer that distortion through brackets into the display.
For long bar displays, these structures are usually effective:
-
U-channel frame: Suitable for medium-length panels where the front cover and rear plate complete the structure.
-
Closed-box extrusion: Best for long spans because the closed section resists torsion much better than an open channel.
-
Folded sheet-metal chassis: A practical solution for moderate production volumes; add 10–20 mm return flanges and corner reinforcements.
-
Rear hat-section reinforcement: Adds depth without occupying the full rear area, useful when electronics require central space.
-
Multi-point rear support rail: Supports the LCD module along its neutral mechanical zones rather than at random points.
-
Front-frame and rear-frame assembly: Creates a sandwich structure, but only when controlled clearance prevents display compression.
A key distinction is strength versus stiffness. A chassis can survive a large force without permanent deformation but still flex enough to create mura. For display applications, low deflection often matters more than ultimate material strength.
In one long-panel program, moving from a 1.5 mm flat rear plate to a 1.2 mm folded chassis with 12 mm side returns reduced corner displacement during a handling test by more than half. The redesign also avoided the mass penalty of a thicker plate.
How Should the LCD Module Be Mounted Inside a Rigid Case?
The LCD module should be supported evenly, restrained against excessive movement, and allowed limited thermal expansion. Use designated mounting tabs or controlled support points, maintain clearance around the glass, and avoid creating a rigid clamp path from metal housing to active-area edges.
A strong case does not mean the panel should be squeezed tightly. Over-constraint is one of the most damaging design errors in ultra-narrow-bezel products.
A recommended mounting approach includes:
-
Support the module using its specified metal frame, mounting ears, or rear structural regions.
-
Keep the bezel opening clear of the active area and black matrix edge.
-
Use compliant foam only as a controlled anti-rattle element, not as a structural clamp.
-
Maintain a defined perimeter clearance for thermal expansion and manufacturing tolerance.
-
Tighten fasteners in a cross-pattern sequence with controlled torque.
-
Prevent FPC, LVDS, MIPI, or backlight cables from pulling sideways on the panel.
-
Confirm that the host enclosure remains flat after powder coating, welding, machining, and final assembly.
For many bar-type modules, 0.3–0.8 mm of perimeter clearance is a practical starting range, subject to the exact display dimensions, operating temperature, bezel geometry, and assembly tolerance stack. The right value must be confirmed through CAD tolerance analysis and physical samples.
Avoid applying double-sided adhesive tape continuously around all four sides unless the stack-up has been engineered for thermal strain. Full-perimeter bonding can lock the display in place and convert normal expansion into cell stress.
What Thermal Expansion Allowance Does a Bar Display Need?
A bar display needs enough clearance to accommodate the different expansion rates of aluminum, glass, plastic, adhesives, and cover lenses. For a 600 mm aluminum chassis exposed to a 60°C temperature change, length growth can approach 0.8 mm, which is enough to cause bezel interference if no relief gap exists.
Thermal expansion follows:
where α\alpha is the coefficient of thermal expansion, LL is length, and ΔT\Delta T is the temperature change.
Aluminum expands more than display glass. Approximate values are:
-
Aluminum alloy: 22–24 ppm/°C
-
Soda-lime or aluminosilicate glass: approximately 8–10 ppm/°C
-
Acrylic and some plastics: often 50–80 ppm/°C or higher
-
Adhesives and foam: highly variable and strongly temperature-dependent
For example, a 600 mm aluminum member with α=23\alpha = 23 ppm/°C over a 60°C swing changes length by:
That expansion is not theoretical in an enclosed display product. It occurs during vehicle operation, outdoor installation, industrial washdown environments, startup heating, and high-brightness backlight use.
The structural design should choose one controlled datum point and permit expansion away from it. A common strategy is to fix the display at one central or end reference point while allowing slotted holes, floating clips, or compliant interfaces to accommodate movement elsewhere.
When Should Designers Add Ribs, Cross-Members, or Extrusions?
Add structural reinforcement when the bar display length, mounting span, installation orientation, or enclosure depth makes flat-sheet deflection likely. Reinforcement is particularly valuable above roughly 400–500 mm unsupported span, but the correct threshold depends on panel mass, thickness, handling loads, and required optical uniformity.
Ribs are not automatically beneficial. A poorly placed rib can create a narrow hard point that presses against the rear of the module. The rib should support the chassis, not become a point-load source.
Use ribs and cross-members when:
-
The panel is mounted only at the two ends
-
The enclosure has a large unsupported central span
-
The product is installed vertically and experiences vibration
-
The unit is frequently handled, transported, or serviced
-
A front cover glass creates additional leverage during torsion
-
The backlight generates significant internal heat
-
The display must pass vibration, shock, or automotive-style environmental testing
For a narrow 8.8-inch or 10.1-inch display, a folded aluminum frame may be enough. For a 23-inch or 28-inch stretched display, an extruded rear chassis or a deep boxed frame becomes much more attractive.
CDTech evaluates the panel length, housing depth, mounting method, and expected operating environment before recommending reinforcement. This prevents a common cost trap: adding excessive thickness after tooling rather than designing the proper structural section from the start.
Can Ultra-Narrow Bezels Remain Rigid Without Pressing the Panel?
Yes. An ultra-narrow bezel can remain rigid when it is treated as a cosmetic locating feature rather than the primary load-bearing clamp. Structural stiffness should come from the rear chassis, side rails, cover lens, and internal frame, while the bezel maintains controlled clearance from the LCD active area.
Ultra-narrow bezels create a difficult tolerance stack. The visible gap must look uniform, yet the panel needs room to expand, shift during shock, and survive assembly variation.
A successful narrow-bezel design separates three functions:
-
Appearance: The front mask conceals the panel edge and creates a consistent viewing window.
-
Location: Controlled tabs, brackets, or datum features position the module.
-
Structure: Rear rails, folded sections, or extrusions carry torsion and bending loads.
Do not ask one thin decorative bezel to perform all three jobs.
In production, we have seen front-frame distortion occur because a screw boss sat only 3–4 mm from the glass edge. Tightening the screw pulled the bezel inward by a fraction of a millimeter, which was enough to create a bright yellow crescent on a white screen. Moving the boss outward and adding a rear load path solved the issue without changing the display panel.
What Tests Confirm a Stretched LCD Housing Is Mechanically Safe?
A mechanically safe stretched LCD housing should pass flatness inspection, screw-torque verification, static deflection testing, torsion testing, thermal cycling, vibration or transport simulation, and optical inspection with standardized image patterns. Test the complete display assembly, not only the empty metal chassis.
A robust validation plan should include:
For a long display, check the screen at every critical assembly stage: bare module, mounted module, front lens installed, screws torqued, and final enclosure closed. This sequence identifies when stress enters the system.
A useful factory habit is to photograph uniform-white and 50% gray patterns after each stage. It creates a clear visual record and prevents arguments about whether a mura defect was present before or after enclosure assembly.
CDTech Expert Views
“The strongest stretched-display enclosure is not the one with the thickest metal. It is the one that directs load around the LCD rather than through it. In our assembly reviews, yellow spots most often come from a small interference condition: an over-tightened corner screw, a foam strip that becomes too hard in cold temperatures, or a chassis that expands into the bezel opening. We start with panel clearance, identify the structural load path, then add section depth through folds, rails, or extrusions. For a long bar display, a 10 mm return flange can provide more useful stiffness than adding 1 mm of flat aluminum sheet.”
Why Is a Structural Interference Review Essential Before Tooling?
A structural interference review identifies where components contact, clamp, expand, or transfer load into the LCD module before expensive tooling is released. It prevents late-stage yellow spots, non-uniform bezel gaps, cracked cover glass, and chassis distortion that are difficult to correct after mass-production tooling is complete.
The review should include the TFT module, front lens, OCA or foam, bezel, rear chassis, PCB, cable routing, heat sources, mounting brackets, and host enclosure.
Check the following items in CAD and physical samples:
-
Maximum and minimum module dimensions
-
Housing flatness and bend tolerances
-
Screw-boss position relative to the panel edge
-
Compression range of foam and gaskets
-
Tolerance stack around the viewing opening
-
Thermal growth direction and expansion gaps
-
PCB and cable contact during shock or vibration
-
Backlight and processor heat paths
-
Installer-induced loads at mounting points
-
Access conditions for service and replacement
CDTech can support this review by aligning the display module’s mechanical drawing with the customer’s chassis design, connector layout, cover-lens structure, and target test conditions. This early coordination is especially valuable for industrial control, medical equipment, automotive systems, and professional instrumentation.
FAQs
What chassis thickness is suitable for a stretched LCD display?
There is no universal thickness. For many medium-length products, 1.2–1.5 mm folded aluminum with return flanges is more effective than a thicker flat plate. Longer displays often require deep rails, cross-members, or an aluminum extrusion.
Can a warped metal case cause an LCD yellow spot?
Yes. A warped case can bend the display frame or press locally on the LCD stack. Even small distortion can create pressure mura, color shift, edge light leakage, or permanent optical defects.
Should the LCD panel be tightly clamped inside the bezel?
No. The module must be located securely but should retain controlled clearance for tolerance variation and thermal expansion. Tight clamping is a common cause of pressure marks and cracking.
How can torsion be tested on a long bar display?
Secure the normal mounting points, apply a controlled displacement or torque at a corner or end, then inspect the screen using white, gray, black, and RGB patterns. Repeat after thermal cycling and assembly torque verification.
Is aluminum or steel better for display chassis stiffness?
Steel is stiffer at the same geometry, but aluminum is lighter and easier to form or machine. For most display products, aluminum with increased section depth, flanges, ribs, or a closed-box profile provides the required stiffness efficiently.
A long bar TFT display must be designed as a mechanically integrated system, not a panel placed inside a cosmetic metal shell. Use section depth instead of flat-sheet thickness alone, separate structural loads from the LCD bezel, provide thermal expansion clearance, and validate torsion with the final optical stack. CDTech can help turn these requirements into a durable stretched-display chassis that protects image uniformity throughout production and field use.