How to Drive a Small Bar TFT Screen with SPI or I2C
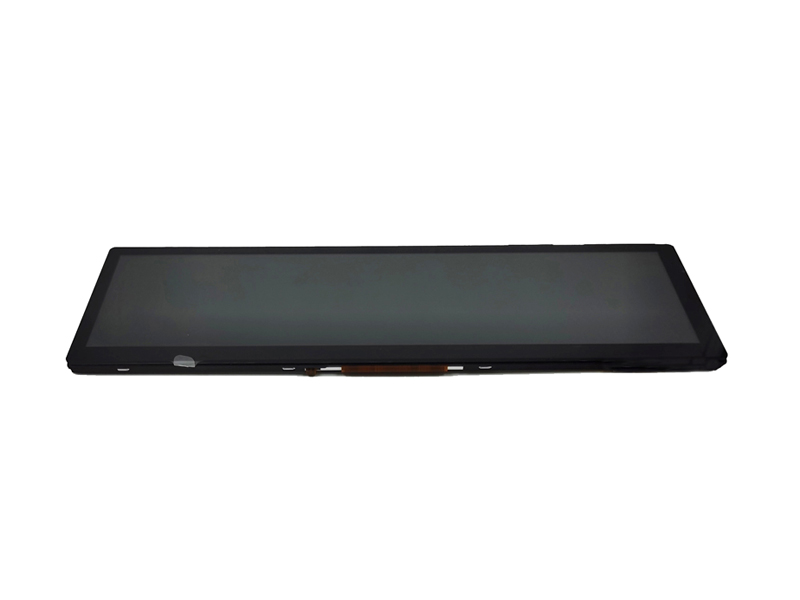
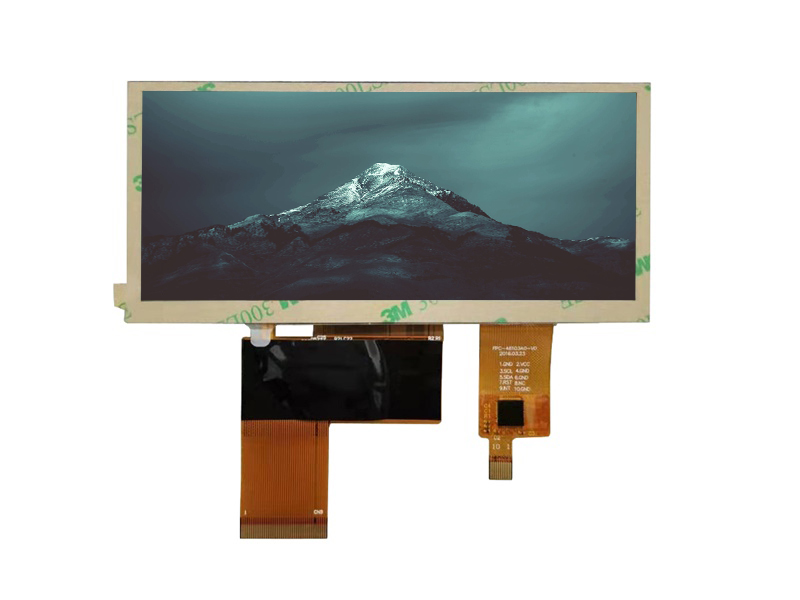
A small bar-shaped TFT—wide and short, like a 2.9″ 320×120 panel—is a natural fit for a microcontroller over SPI or I2C. The pixel count is low enough that a serial bus can keep up,…

Driving a Bar TFT From an MCU: What the Implementation Needs
Before writing code, confirm the three inputs that define the implementation:
- The panel’s controller — the driver IC inside the bar TFT decides the command set and initialization sequence; the datasheet for that IC is the primary reference.
- The bus — SPI or I2C, with the speed the panel supports and the MCU can generate.
- The pixel format — color depth and memory write order determine how your framebuffer maps to the panel.
This guide assumes the bus choice is already made. If you are still comparing SPI and I2C bandwidth for the pixel load, the bus comparison guide covers that decision; here, the focus is the implementation.
Wiring Checklist: Power, SPI/I2C Lines, Reset and Backlight
Get the wiring right before the code. A typical small bar TFT connection includes:
- Power — the panel’s logic supply and backlight supply, with decoupling close to the connector; check voltage levels against the MCU’s I/O.
- SPI lines — SCLK, MOSI (and MISO only if you read the controller); or I2C SDA/SCL with pull-ups to the correct level.
- Chip select — CS held low for the whole transaction, or per-command as the driver expects.
- Reset — a GPIO-controlled reset line with the power-on sequence from the datasheet.
- Backlight enable — a separate line (or PWM) so the backlight can be controlled independently of the panel logic.
Level shifting matters: if the panel runs at 3.3 V and the MCU at 5 V, do not assume the panel tolerates 5 V logic. Confirm the I/O voltage in the datasheet.
Bring-Up Sequence: Initializing the Bar Panel and Verifying the Image
Initialization follows a fixed sequence for most controllers:
- Power on — apply logic power, wait for stabilization, then release reset per the datasheet timing.
- Send the init sequence — the controller’s initialization commands (from the vendor’s example for your panel or a compatible panel) set resolution, color depth, and scan direction.
- Set the memory window — define the active area so writes land inside the visible pixels.
- Write a test pattern — fill the window with a solid color, then a pattern, to confirm orientation and color order.
If the first image is shifted, rotated, or has swapped colors, check the scan direction registers and the RGB/BGR color order before touching anything else; those two settings cause most “wrong first image” problems.
Keeping the Bar Display Current: Partial Refresh and Power
A bar display often shows changing text or status rather than full video. Partial refresh writes only the region that changed:
- Set a smaller memory window — update the clock digits or status icon without rewriting the whole 320×120 frame.
- Keep a shadow framebuffer on the MCU — redraw the changed region in memory, then push only that region to the panel.
- Sleep when idle — use the controller’s sleep and backlight control to cut power between updates.
Partial refresh is where a serial bus earns its place: the effective bandwidth needed drops from “full frame at 30 fps” to “small region on change,” which even modest SPI or I2C links handle easily.
SPI or I2C in This Bar Build: Choosing From the Implementation Side
From the implementation side, the choice narrows to practical factors:
- SPI — faster initialization and full-frame updates; needs four wires and a dedicated CS. Best when the UI redraws larger areas or animates.
- I2C — two wires and shared-bus support; best when the display shares a bus with other I2C devices and the update rate is low.
Many small bar panels support both, so the same hardware can fall back if the firmware outgrows the first bus. The full bandwidth comparison is in the SPI vs I2C guide; this article applies its conclusion to a specific bar build.
Example Setup: STM32 and ESP32 Driving a Small Bar TFT
Two common host examples show the shape of the implementation:
- STM32 (HAL) — configure SPI or I2C peripherals in CubeMX, map CS and reset to GPIOs, and write the init sequence as a table of command/value pairs. DMA helps when pushing full frames over SPI.
- ESP32 — use the SPI master driver or I2C driver, connect the panel pins, and drive the controller with the same command table. ESP32’s higher SPI clocks suit larger full-frame refreshes.
The exact pins and driver APIs vary by board, but the sequence does not: wire, init, set window, write pixels, refresh regions. Start with the vendor’s example for the controller IC, adapt the pin mapping, and verify with a test pattern before building your UI.
Frequently Asked Questions
How do I wire a bar TFT to an MCU?
Connect power with decoupling, the SPI or I2C lines at the correct logic level, chip select, a GPIO reset with proper power-on timing, and a backlight enable (or PWM) line.
How do I initialize a small bar TFT over SPI?
Power on, release reset, send the controller’s initialization command sequence from the panel vendor example, set the memory window and color format, then write a test pattern.
Can I drive a bar display over I2C?
Yes, if the panel controller supports I2C and the update rate is low enough for the bus bandwidth. I2C suits region updates and status displays better than full-frame animation.
How do I do partial refresh on a bar screen?
Keep a shadow framebuffer on the MCU, redraw only the changed region, set the controller’s memory window to that region, and write just those pixels.
If you are bringing up a bar display on an MCU, the panel datasheet’s initialization sequence is the starting point, and the wiring must be confirmed before code. CDTech supplies small bar TFT modules for the bar-type LCD range—contact us for panel documentation and integration support.