FPC Design for Display Modules
FPC design for display modules: layer stack, trace rules, shielding, bend radius, stiffeners and termination, plus the drawing details that prevent flicker. | Target URL: https://blog.cdtech-lcd.com/display-fpc-design/
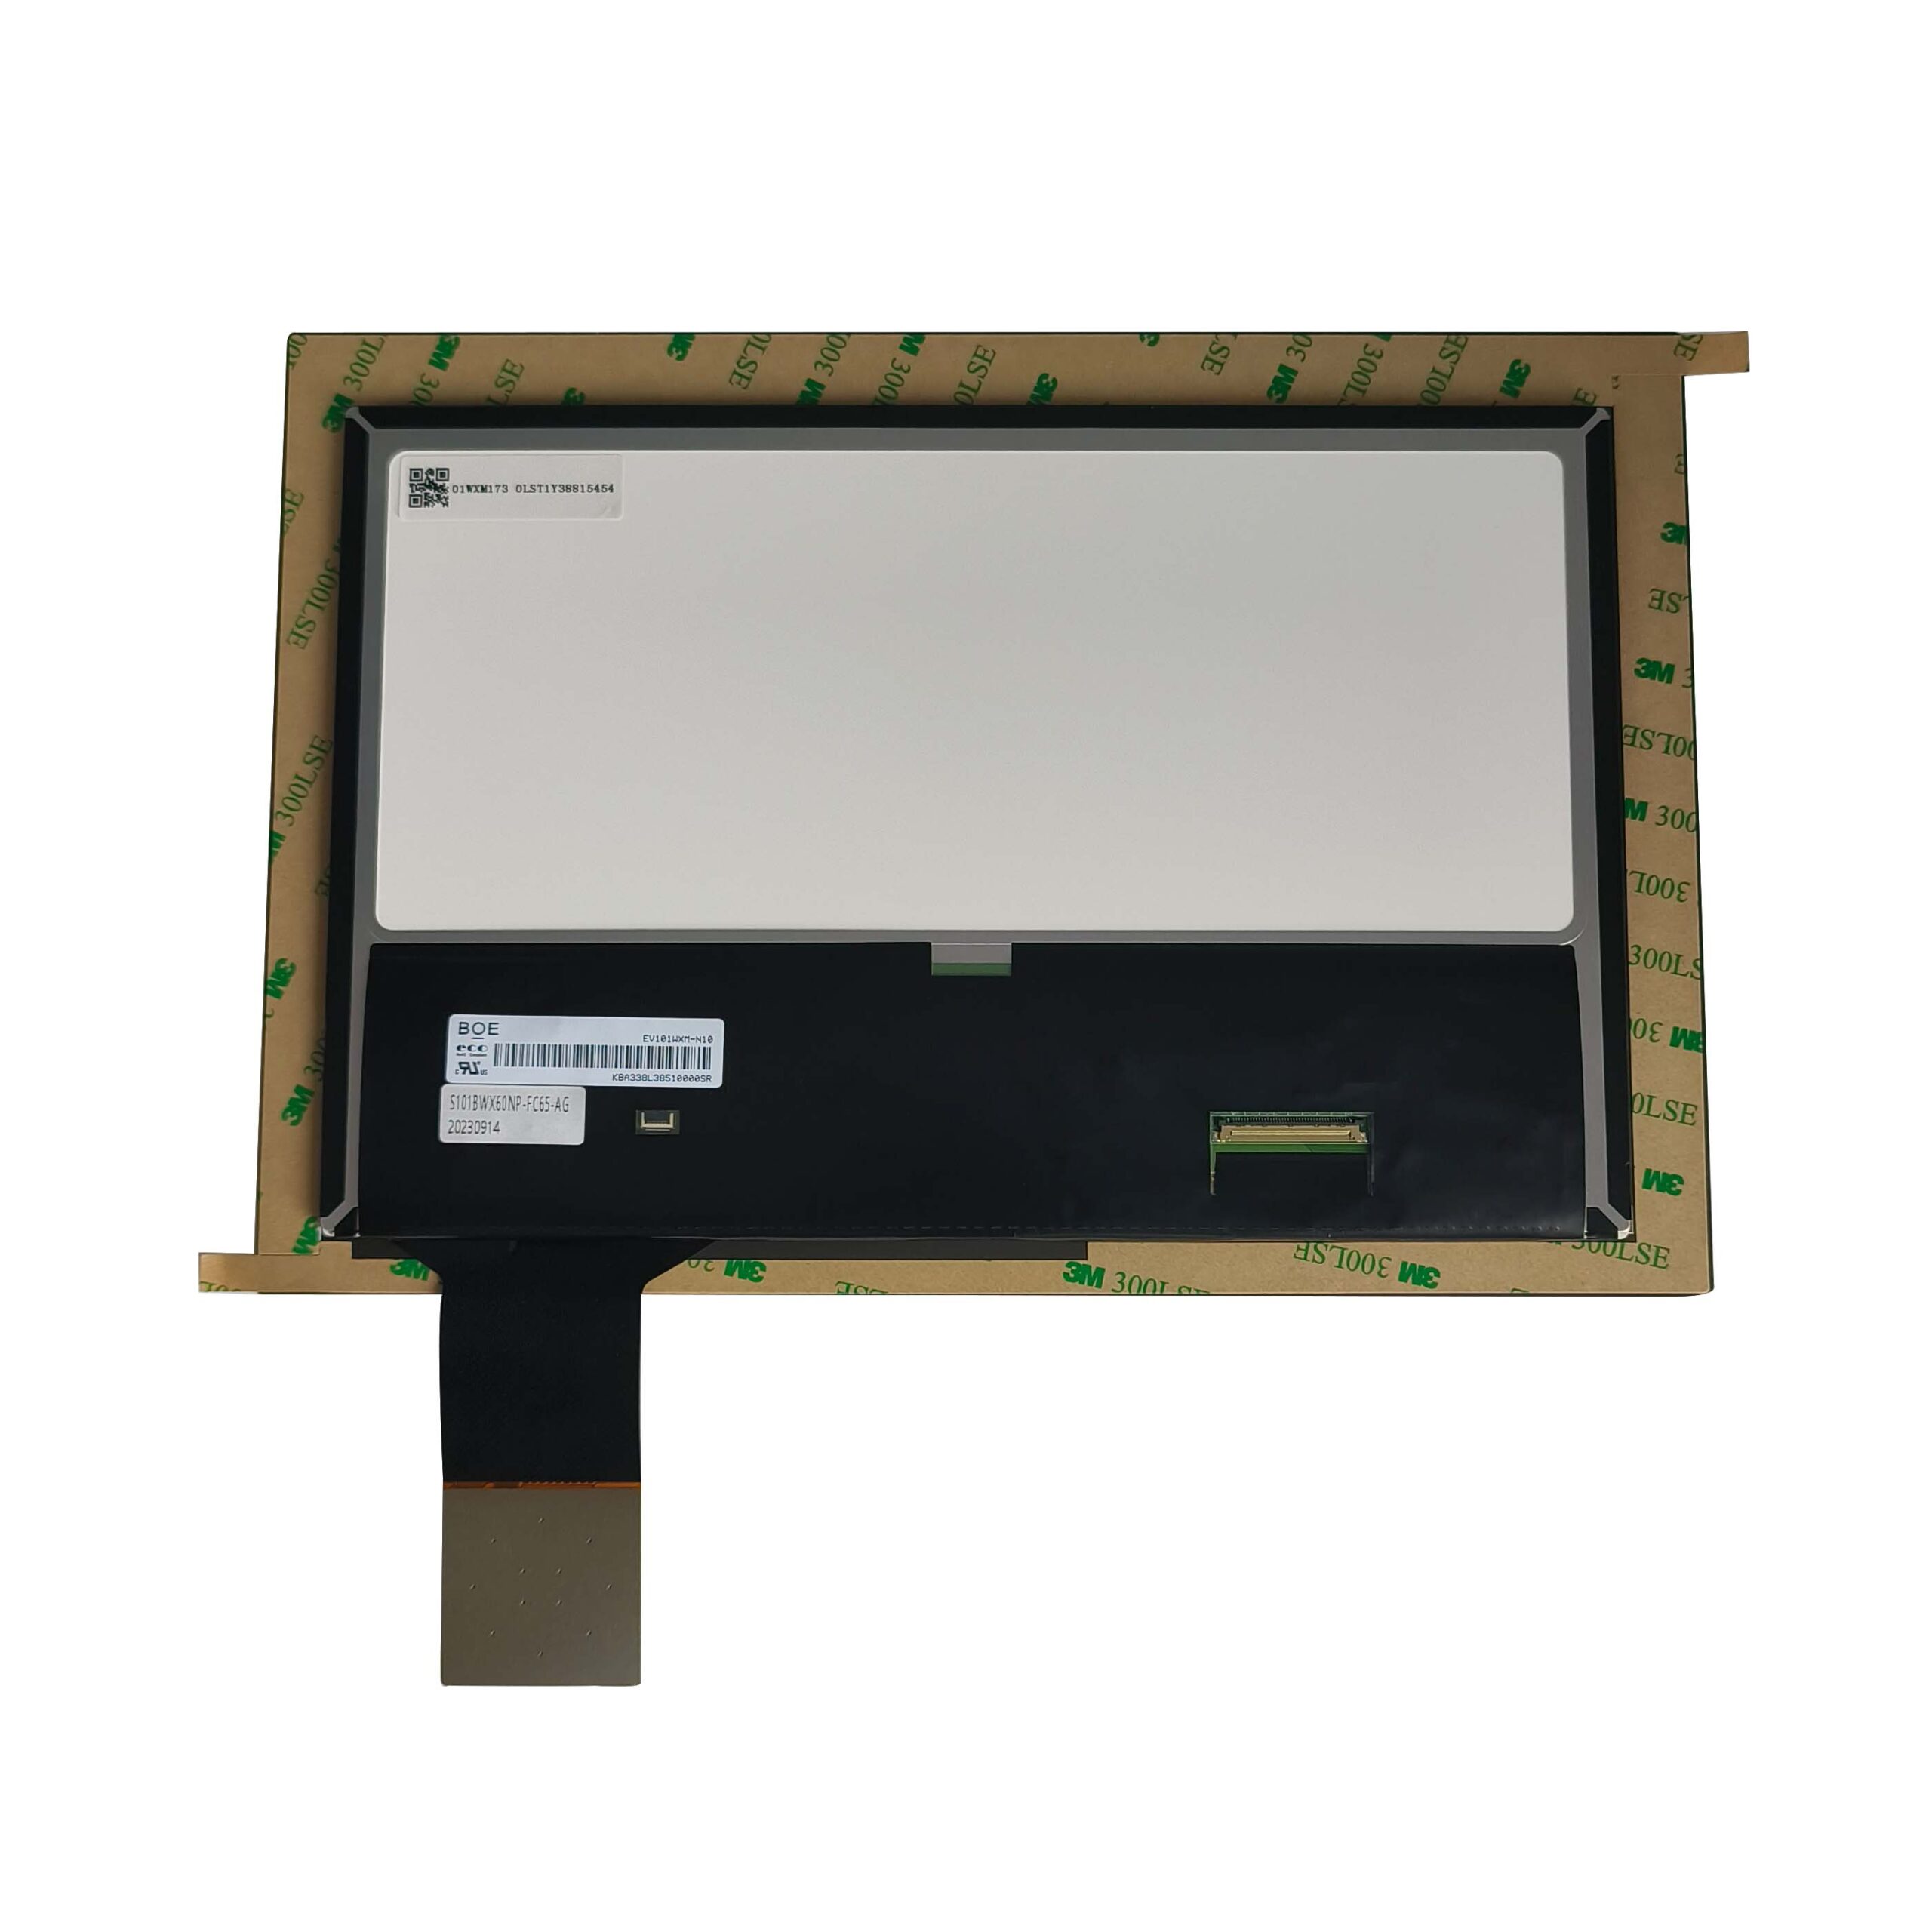
The flexible tail is the least glamorous part of a display and the one most often designed last. It carries power, the high-speed pixel stream, the touch signals and sometimes the backlight, and it does so while being folded, clamped and vibrated. Most of what goes wrong with a tail is predictable at the drawing stage, which is the cheapest place to fix it.
Part of the Custom Displays, Sourcing & Manufacturing guide — 46 articles on tooling, sampling, MOQ and supply-chain risk.
What is an FPC and how does it differ from FFC?
FPC is etched circuitry; FFC is a straight cable.
A flexible printed circuit is custom-etched copper on a flexible substrate, so it can carry components, branch, change layer count and take a shape. A flat flexible cable is a set of parallel conductors laminated in insulation with no etching, used as a straight jumper between two connectors. The distinction matters commercially: an FPC carries tooling and a minimum order, while an FFC is bought by length and pitch. A display tail that must bend, shield or carry more than a passive run is an FPC.
The layers of a display FPC
Copper, polyimide and the adhesive between them.
A single-sided FPC is one copper layer on a polyimide base with a coverlay; double-sided adds a second copper layer and a plated through-hole process. The base and coverlay are polyimide because it survives soldering and flexing, and the adhesive system determines the temperature the tail tolerates. Layer count follows the signal budget: ground plane, power and signal need separation at four-layer, which is where differential pairs on a display tail are usually handled. The connector and contact system that terminates the tail is covered in connector and contact reliability.
Trace width, impedance and current
Two calculations, one drawing.
Power traces are sized by current and allowable temperature rise, with the copper weight setting the equivalent cross-section. Signal traces on high-speed lanes are sized by the target impedance, typically 100 ohms differential for the internal display links, which fixes the width, spacing and reference-plane distance together. Changing the width to make routing easier changes the impedance, and the mismatch shows up as intermittent corrupt pixels rather than as a clean failure. The reference planes and lane rates behind the calculation are defined by the MIPI DSI specification for mobile-style links and by LVDS application guidance for the long-reach case.
Shielding and EMI on the tail
The tail is the antenna, so it should also be the shield.
A display tail leaves the quiet environment of the board and travels through the enclosure, which makes it both a radiator and a receiver. A solid or cross-hatched ground plane under the signal layers provides the return path, and a conductive shield layer tied to ground at defined points reduces radiated emissions. The shield termination matters more than the shield: a floating conductive layer can make emissions worse than no shield at all, which is exactly the failure described in custom FPC design against flicker and EMI. For an external-style interface, the equivalent interconnect standards are the HDMI specification and the SerDes families such as TI FPD-Link.
Bend radius and flex life
Flex life falls faster than most drawings assume.
A tail that is bent once during assembly and then never moves needs only a generous static radius. A tail in a hinge, a sliders or a moving arm is a dynamic application, where the relevant figure is the number of cycles at a defined radius and the design answer is to spread the bend over more length, avoid copper in the bend, use rolled annealed copper and keep the coverlay intact. Specifying a dynamic flex life without stating the radius and cycle count is not a specification, and the bending requirement should be shown on the drawing as a minimum radius rather than left to the assembler.
Stiffeners, connectors and termination
The joint, not the trace, usually fails first.
ZIF connectors need a stiffener behind the contact area so that the tail cannot deform as the actuator closes; a stiffener of the wrong thickness changes the contact force. Hot-bar or soldered terminations need a defined pad geometry and enough thermal relief to solder without delaminating the polyimide. Where the tail plugs into a board, the mating cycle count should be limited and stated, because a ZIF rated for thirty insertions is not a service connector. The engineering signal chain behind the connector is covered by vendor material from Analog Devices and STMicroelectronics, both of whom publish layout guidance that applies to the tail as well as the board.
Adhesive, plating and surface finish
Small choices, large effect on yield.
Electroplated nickel-gold is the usual contact finish because it resists corrosion and repeated mating, while immersion finishes are cheaper but less tolerant of wear. The adhesive system decides the maximum process temperature and the resistance to cleaning agents, and the stiffener adhesive decides whether the tail survives the connector being actuated in the field. All three should be stated on the drawing, because a supplier substitution in any of them changes the reliability of the tail without changing its shape.
Design rules that prevent flicker
Most flicker stories end on the tail.
Intermittent flicker usually traces to a marginal ground return, a differential pair split by a via field or slot, or a contact that only makes on one side of the ZIF. The preventive rules are to keep the return continuous underneath every signal, to keep the pair spacing constant through the connector, to avoid routing the backlight current alongside the video lanes, and to define a minimum contact wipe. Where the tail has to cross a hinge, keep the moving section free of connectors and stiffeners. These rules are collected with the rest of the module in FPC cable design for displays, and the customisation services that go with them are described in optical and structural customisation.
Cost drivers and tooling
Layer count and shape, not length.
An FPC is priced from its layer count, its panel utilisation and the number of process steps, so a shape that wastes material or forces an extra lamination costs more than a longer tail that nests well. Tooling is a one-off charge on the artwork and the punching, and it is not recovered by a small order. The practical advice is to fix the layer count early, nest the outline, and avoid a change to the connector that forces new artwork after qualification.
What to put on the drawing
Ten items make the tail buildable.
- Layer count, copper weight and the impedance target for each pair.
- Base and coverlay material, adhesive type and the maximum process temperature.
- Minimum static and dynamic bend radius, with the cycle count for dynamic use.
- Shield layer presence and where it is grounded.
- Stiffener material, thickness and the area it covers.
- Contact finish and the mating-cycle rating.
- Connector part number, orientation and actuator type.
- Grounding pads and their connection to the chassis.
- Silkscreen marking and the panel identification.
- Packaging and the maximum stack height of the folded tail.
With those stated, a tail that fails in the field can be compared against the drawing rather than against an assumption, which is the same discipline expected in quality assurance and factory compliance.
FAQ
What are the different types of flex connectors?
ZIF connectors with an actuator, non-ZIF or low-insertion-force types, board-to-board pairs and hot-bar soldered terminations. ZIF dominates display tails because the actuator gives a controlled contact force without wearing the contacts on each insertion.
What are FPC connectors used for?
They terminate a flexible printed circuit to a board, allowing a display, a sensor or a camera to sit away from the main PCB while remaining replaceable. The connector, not the tail, usually sets the allowed number of assembly cycles.
What is a flex cable called?
Both terms are used loosely. A flexible printed circuit is etched and can carry components and multiple layers; a flat flexible cable is a straight parallel-conductor jumper. If the part bends in use or carries a ground plane, it is almost certainly an FPC.
How do I install a flex connector without damaging it?
Insert the tail squarely until it bottoms out, close the actuator without forcing it, and confirm that the contact side faces the correct way. Avoid pulling the tail to seat it; a stiffener behind the contact area exists so that the insertion force acts on the stiffener rather than on the conductors.
Next step
Send the connector, the signal list, the bend envelope and the assembly method to CDTech; the reply will state the layer stack, the impedance target, the stiffener and the shielding scheme that the tail needs.
Contact sales@cdtech-lcd.com or use the contact page, or start from the sample and quote request page.
Related articles
 Fuel Dispenser and Forecourt Displays: Safety, Sunlight and Continuous UseCustom Displays, Sourcing & Manufacturing
 Landed Cost for Display Modules: Freight, Duty, Packaging and the True Unit PriceCustom Displays, Sourcing & Manufacturing
 How to Audit a Display Factory: An Evidence-Based ChecklistCustom Displays, Sourcing & Manufacturing
 TFT LCD vs OLED vs E-Paper for Industrial Products: A 2026 Decision FrameworkCustom Displays, Sourcing & Manufacturing