What Custom LCD Development Actually Costs: NRE, Tooling and the Costs Nobody Quotes
Differentiation page: publish the linked new page before the foundation rewrite of the old page. | Meta description: What custom LCD development costs: NRE and tooling by item, the costs nobody quotes, and how…
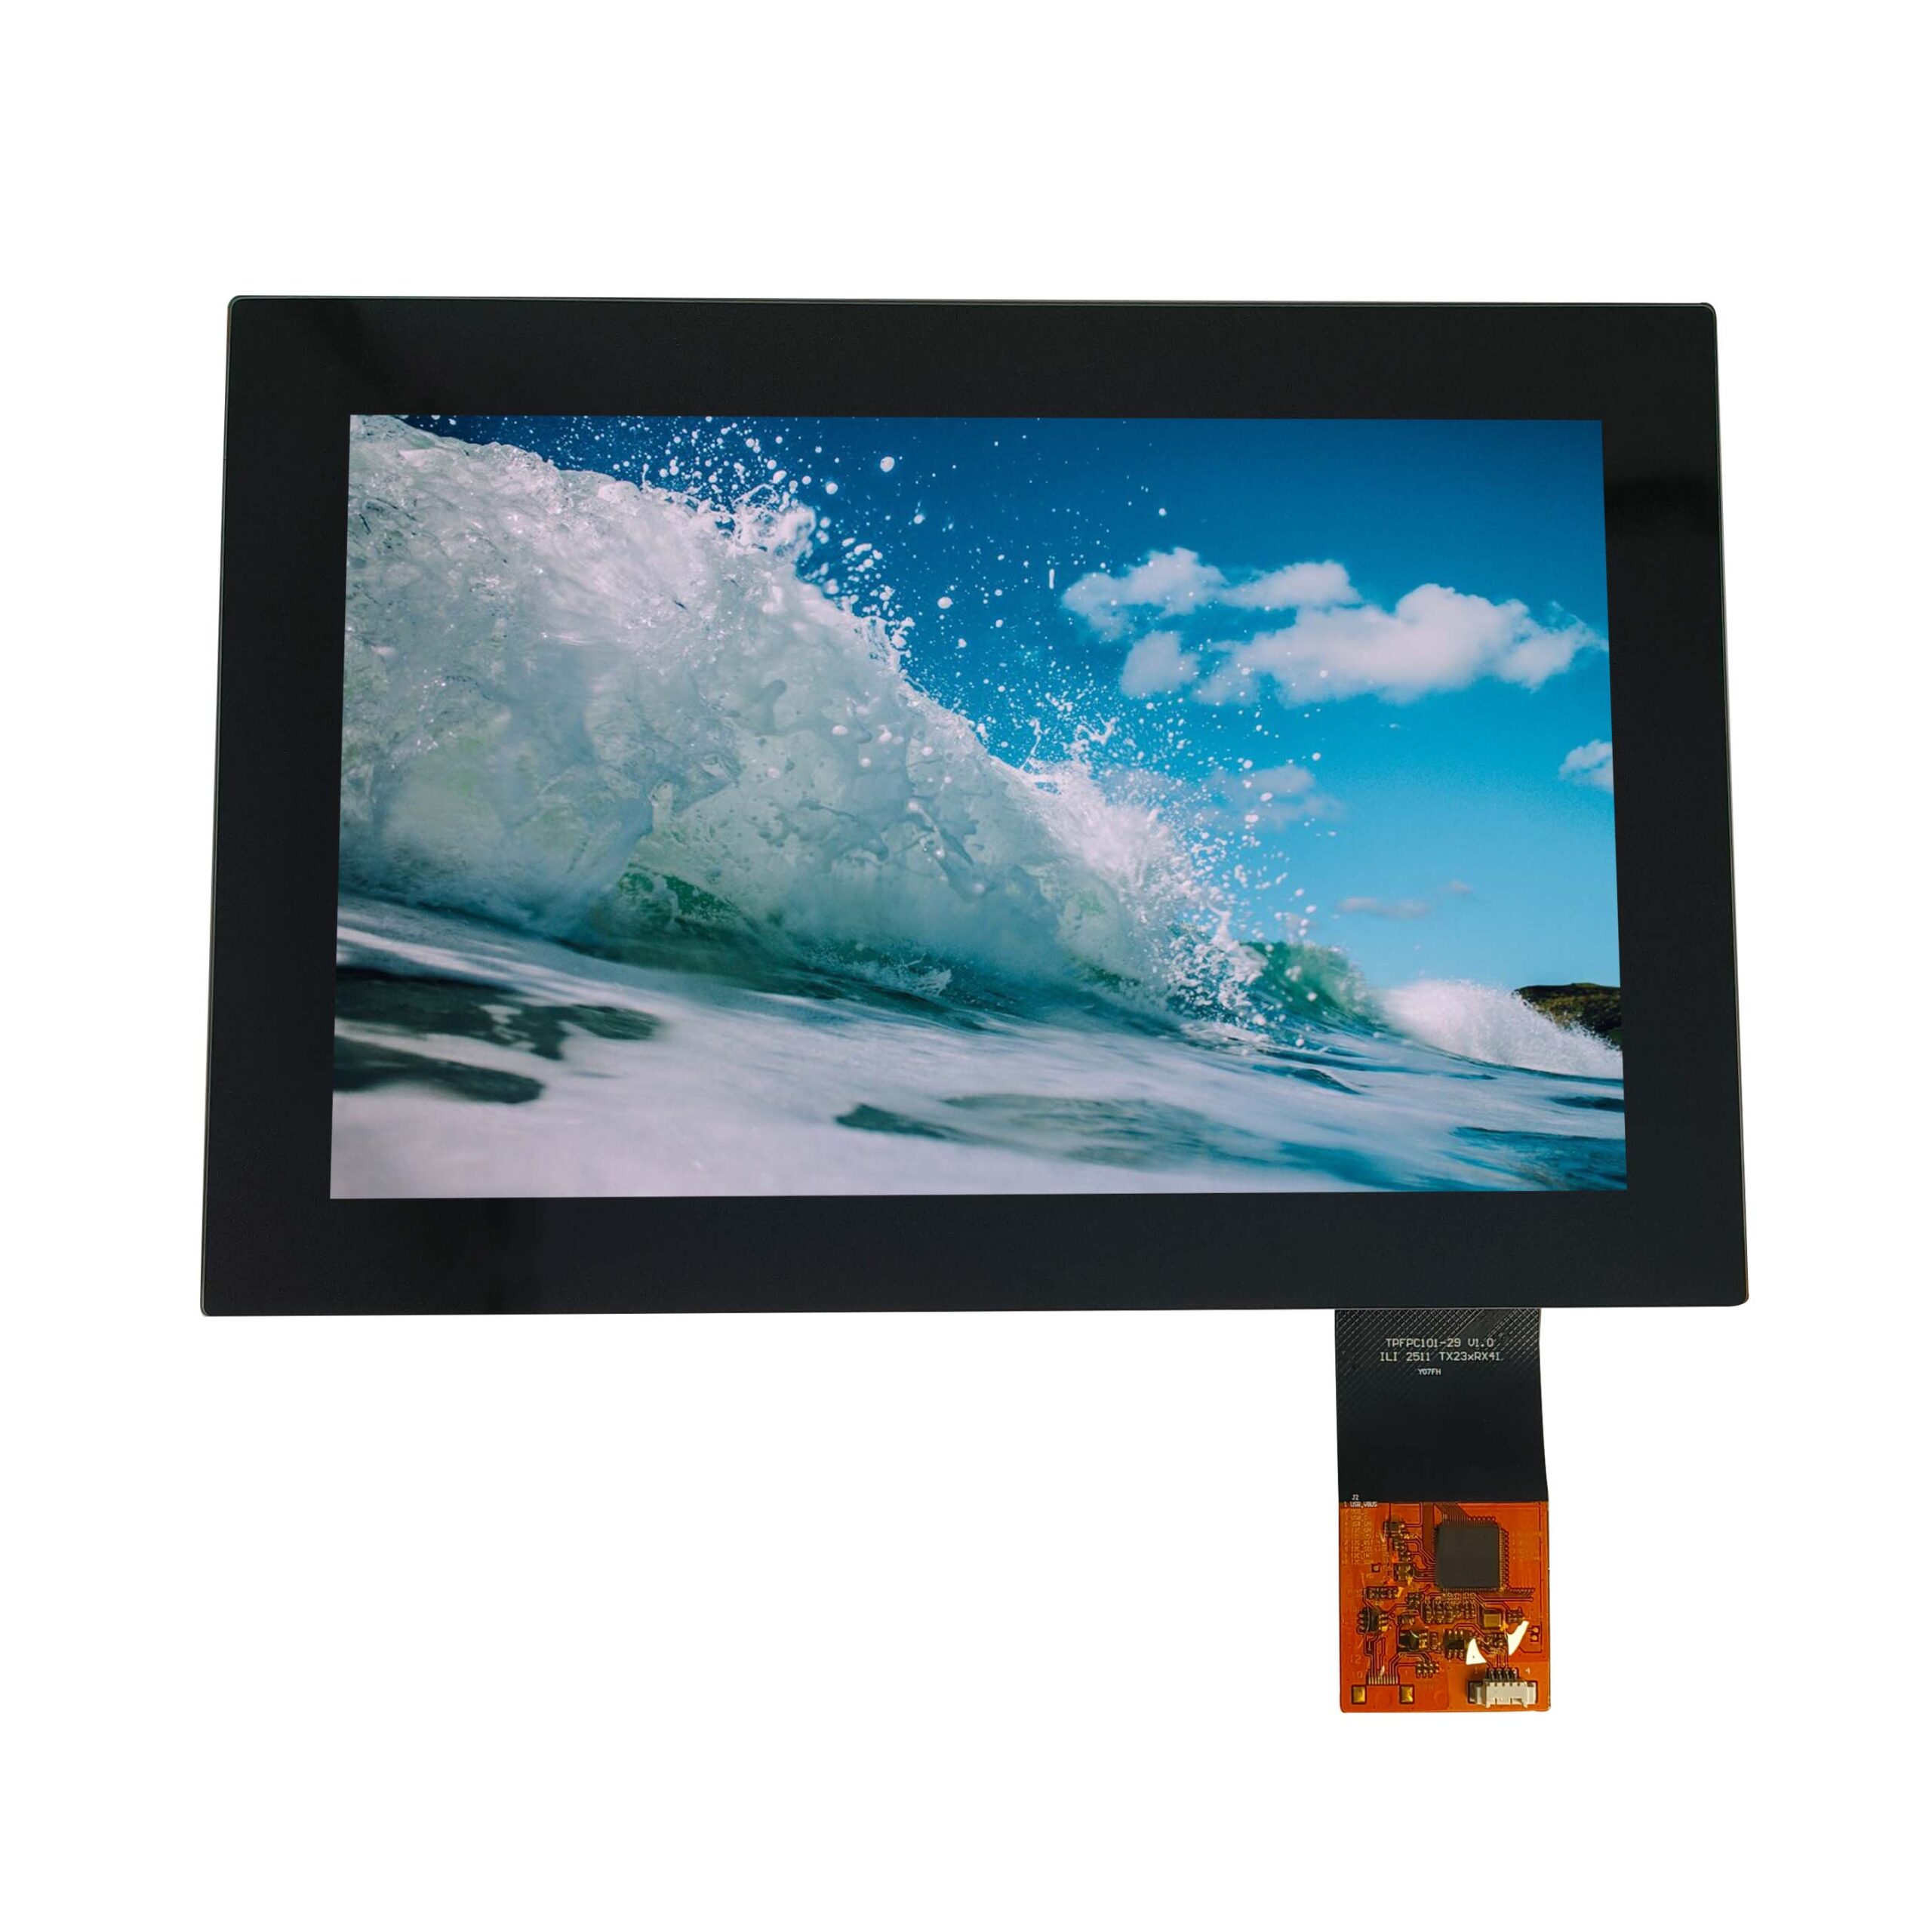
Custom display programmes are usually budgeted from a tooling quotation, which covers a minority of the cost. The larger items are the engineering time that precedes tooling, the validation that follows it, the minimum-order commitment that tooling implies, and the change costs if the design moves after release. Understanding the anatomy allows a buyer to decide what genuinely deserves to be custom.
Part of the Custom Displays, Sourcing & Manufacturing guide — 46 articles on tooling, sampling, MOQ and supply-chain risk.
The items that appear on a tooling quotation
Each covers a specific manufacturing step.
| Item | What it covers |
|---|---|
| Cover glass tooling | Cutting or forming, printing screens, coating setup |
| Touch sensor design | Electrode pattern, tooling if a custom pattern is required |
| FPC design and tooling | Circuit layout, tooling, bonding fixtures |
| Backlight tooling | Light guide, diffuser and reflector tooling if the format is non-standard |
| Test fixtures | Functional and optical test jigs for production |
| Engineering time | Design, drawings, evaluation samples |
| Certification and testing | Third-party testing where required |
A quotation that lists these separately is easier to evaluate than a single figure, because it shows which parts of the customisation are driving the cost and where a standard alternative might be acceptable.
The costs nobody quotes
Four items that appear later.
- Minimum order quantity implied by tooling: the tooling is only economic above a certain volume, and the commitment is a cost even where it is not a payment.
- Validation effort at the customer: environmental, mechanical and optical testing of the custom assembly.
- Change costs after release: a change to print, glass or FPC after tooling typically means new tooling.
- Supply risk: a custom part has fewer alternative sources than a standard one.
Each of these is real, and each is avoidable or reducible if it is considered before the tooling decision rather than after.
What a custom part costs over its life
Tooling is a one-time cost; the commitment is not.
A custom panel or front assembly carries a minimum order quantity, a longer lead time, a single source and a change cost. Over a product’s life those factors matter more than the tooling figure, which is why the decision should be framed as a lifetime commitment rather than a project expense. Where the product’s volume is uncertain or the market may change, standardising the parts that can be standardised and customising only what the product’s identity depends on is usually the cheaper route.
The parts that most often justify customisation are the visible front – the shape, print and coating – because they determine the product’s appearance, and the mechanical interface, because it determines whether the product fits the enclosure.
Deciding what to customise
Three levels, three commitments.
| Level | What is custom | Commitment |
|---|---|---|
| Configured standard | Cable length, connector, firmware, cover glass with standard shape | Low; no panel tooling |
| Custom front | Cover glass shape, print and coating; standard panel and interface | Moderate tooling; front assembly becomes a controlled part |
| Custom module | Panel format, FPC, backlight or touch sensor | High tooling and volume commitment |
Most products are best served by the second level: a standard panel and interface with a custom front, which delivers the appearance and the mechanical fit without committing to panel-level tooling or a single panel family.
Where the engineering time actually goes
Design effort concentrates in four places.
The first is the requirement phase, where ambiguity is resolved; the second is the mechanical integration, where the module, cover glass, bonding and mounting are made to fit; the third is the electrical integration, where timing, interface and power are confirmed; and the fourth is validation, where the assembly is tested against the environmental and mechanical conditions. A programme that skips the first phase spends more in the third and fourth, which is the usual explanation for a schedule overrun on a custom display.
Where a supplier offers design consultation before tooling, that is the phase being funded, and it is usually the highest-value expenditure in the programme.
Volume thresholds that change the answer
The economics are not linear in volume.
At a few hundred units a year, tooling dominates and a configured standard product is almost always cheaper. In the low thousands, custom cover glass and print become affordable while panel-level tooling remains expensive. Above that, a custom module may be justified where the format or the optical performance genuinely requires it. The thresholds move with the format, because a bar panel’s tooling is different from a standard 16:9 panel’s.
Asking a supplier for the volume at which a proposed customisation breaks even is a useful conversation, because it is a calculation they do regularly.
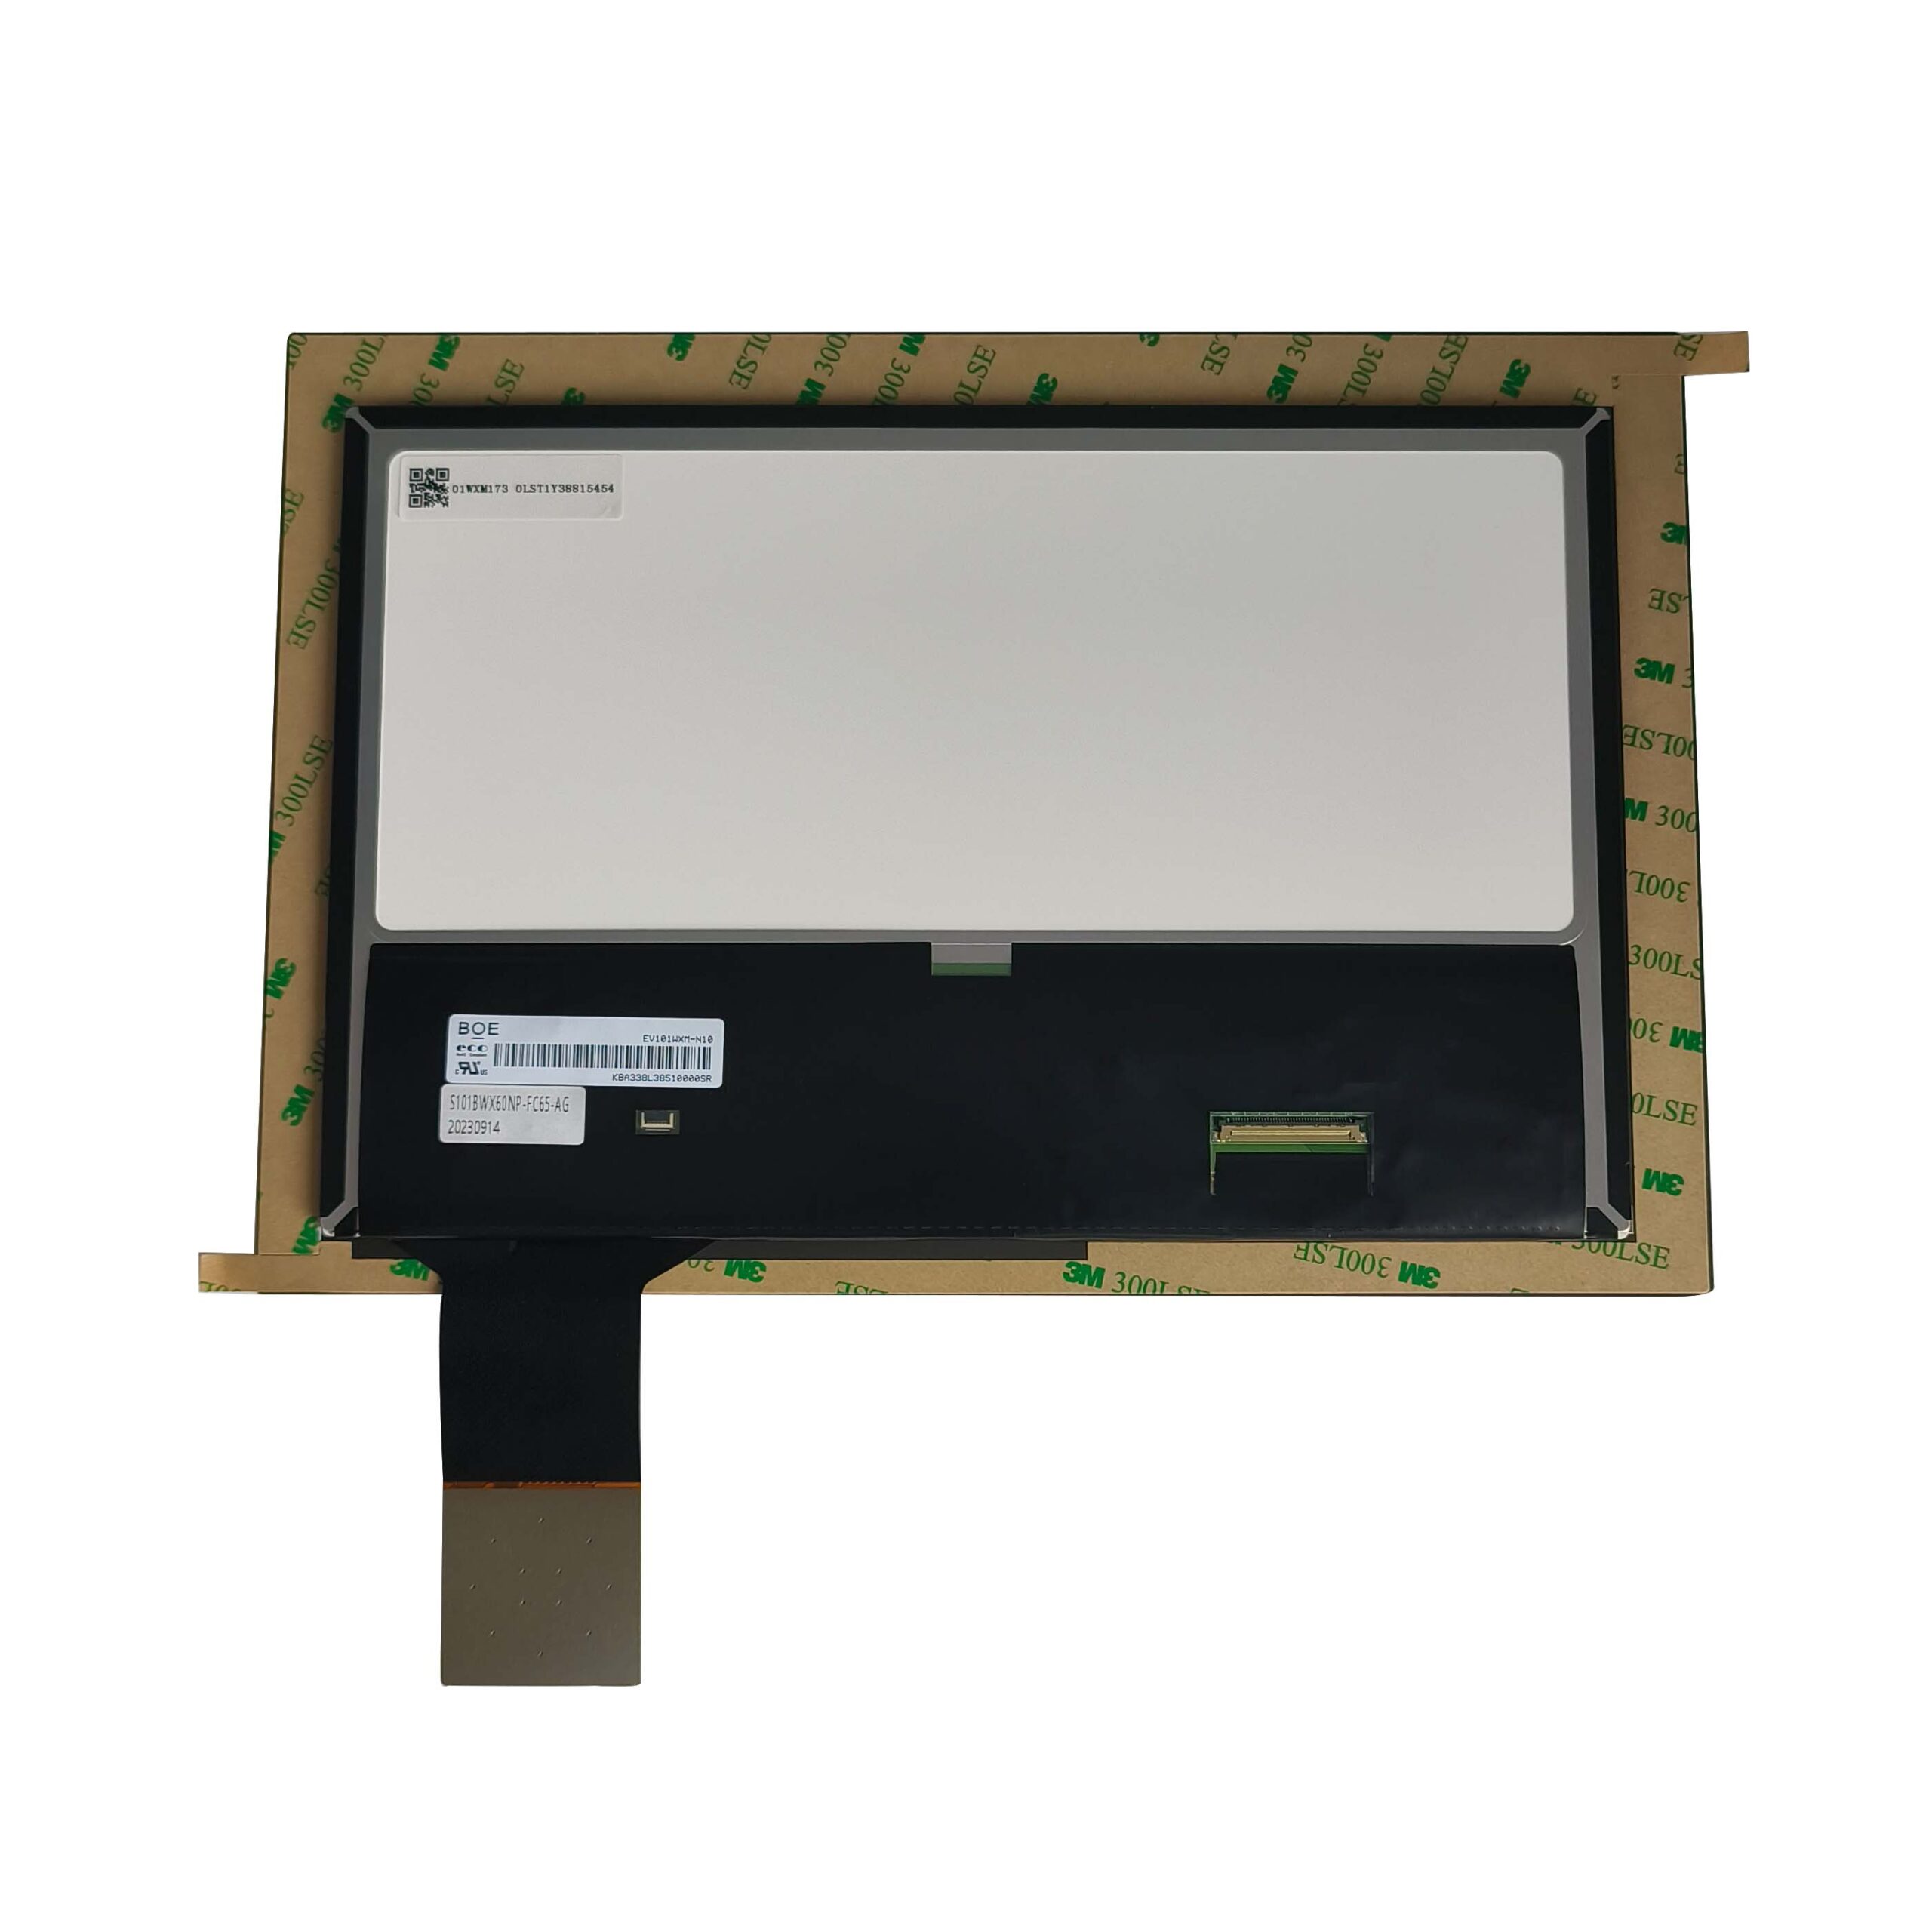
Reducing the cost without reducing quality
Five measures that cut cost at the right place.
- Use a standard panel format and customise the front instead.
- Keep the cover glass shape simple; complex outlines add tooling and yield cost.
- Minimise printed area, which reduces screens, setup time and defect risk.
- Standardise the interface and cable across product variants to share tooling and fixtures.
- Reuse an existing cover glass design across a product family where the visible area allows.
These measures reduce cost without touching the parameters that the product’s quality depends on. The alternative – reducing the optical stack, the sealing or the temperature range – saves money in the same order of magnitude and damages the product. Substrate and coating properties that set what is achievable in a custom front are documented by suppliers such as AGC, and bonding material options by Henkel.
How to evaluate a development quotation
Compare scope, not totals.
- Check that the tooling items listed cover everything the design requires, including test fixtures.
- Ask which items are one-time and which recur with a design change.
- Establish the minimum order quantity implied by each tooling item.
- Confirm what engineering time is included and what is charged separately.
- Ask for the break-even volume for each proposed customisation.
- Confirm tooling ownership and the conditions for transfer.
Two quotations with the same total can carry very different commitments, and the difference appears in the second year rather than at signature. CDTech’s notes on what NRE and tooling costs cover describe the scope items to check.
A worked structure for a custom front
An example of what to expect in scope.
A custom front assembly typically involves cover glass tooling and printing, a coating selection, the touch sensor design if the glass carries one, bonding process setup, test fixture design, and the engineering time to produce drawings and evaluation samples. The recurring cost is the assembly itself, and the commitment is the minimum order quantity for the glass and the print. Where the product family has several sizes, each glass shape is a separate tooling item, which is a strong argument for standardising the shape and varying only the visible area.
Framing the quotation in those terms makes the trade-offs visible: a cheaper glass shape, a simpler print layout and a shared fixture across variants reduce the commitment without affecting the product’s appearance or durability.
FAQ
What does NRE cover in a custom display project?
Engineering work and one-time setup: design and drawings, evaluation samples, tooling for the cover glass, FPC or backlight, test fixture design, and process setup for operations such as bonding. It does not cover the recurring unit cost, the minimum order commitment or the customer’s own validation effort.
Why is custom display tooling so expensive?
Because each item is a separate manufacturing setup – glass cutting or forming, print screens, coating, FPC tooling, test fixtures – and each has a minimum volume below which it is not economic. The engineering time that precedes tooling is often the largest single element and the easiest to underestimate.
What is the cheapest way to customise a display?
Use a standard panel and interface, and customise the front: a standard-shaped cover glass with a printed border and a chosen coating. That delivers most of the product’s appearance and mechanical fit without panel-level tooling, a single-source panel dependency or a large minimum order quantity.
How do I compare two development quotations?
Compare the scope rather than the total: which tooling items are included, which recur with a design change, what minimum order each implies, what engineering time is charged separately, and the break-even volume for each customisation. Two similar totals can carry very different commitments.
Next step
Send the customisation you are considering, the envelope and the volume expectation to CDTech; the reply will break the development cost into its items, state the minimum order each implies and give the break-even volume.
Contact sales@cdtech-lcd.com or use the contact page.
Related articles
 Fuel Dispenser and Forecourt Displays: Safety, Sunlight and Continuous UseCustom Displays, Sourcing & Manufacturing
 Landed Cost for Display Modules: Freight, Duty, Packaging and the True Unit PriceCustom Displays, Sourcing & Manufacturing
 How to Audit a Display Factory: An Evidence-Based ChecklistCustom Displays, Sourcing & Manufacturing
 TFT LCD vs OLED vs E-Paper for Industrial Products: A 2026 Decision FrameworkCustom Displays, Sourcing & Manufacturing