Pressure Marks on Displays: Mechanism, Detection and AQL Treatment
Pressure marks on displays: the cell-gap mechanism, where assembly and mounting introduce them, how to detect them and how to treat them in AQL terms. | Target URL: https://blog.cdtech-lcd.com/display-pressure-marks/
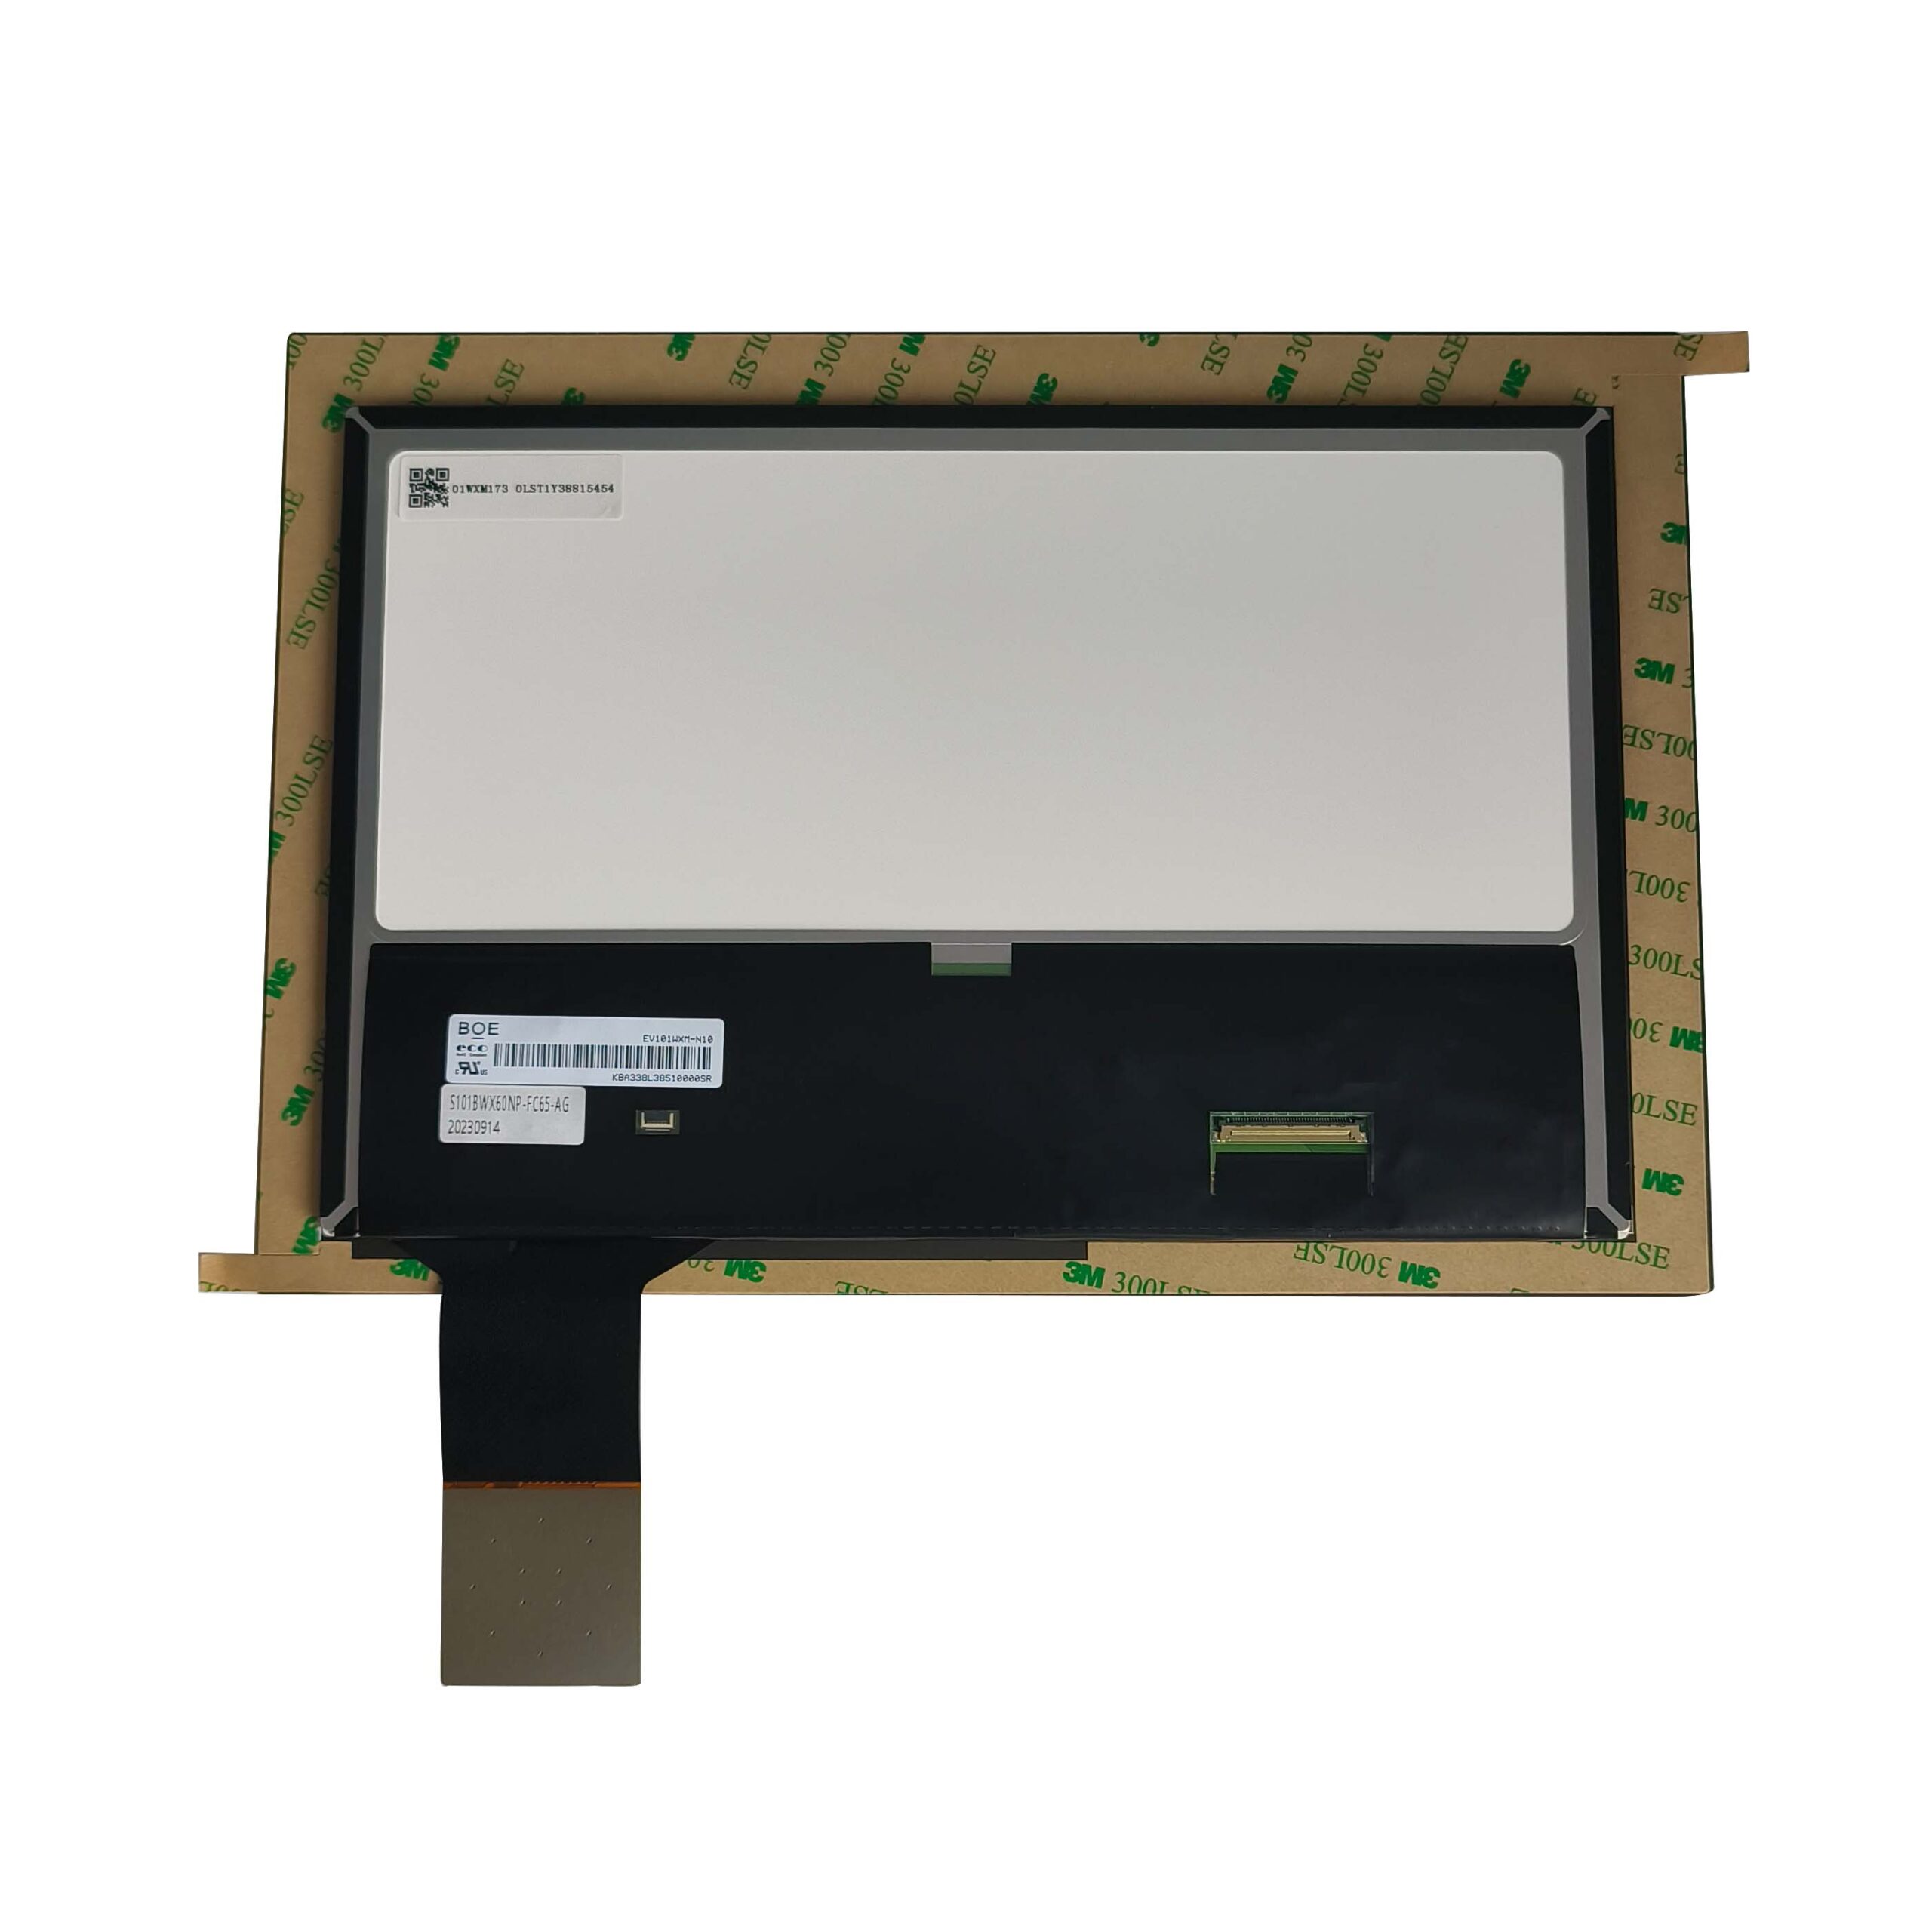
A pressure mark is a mechanical defect with an optical symptom. Something pressed on the display hard enough to change the gap between the two glass plates, and the liquid crystal in that area now transmits light differently. Because it starts as a mechanical event during assembly, packing or mounting, it is one of the few display defects that is fully preventable – provided the cause is found rather than credited.
Part of the Quality, Testing & Compliance guide — 33 articles on defect classes, inspection, qualification and certification.
What a pressure mark is, and why “bruise” describes it well
It is a local change in cell gap caused by mechanical load.
The liquid crystal cell is held at a gap of a few micrometres by spacers distributed across the panel. A local load compresses that gap or distorts the spacer distribution, and the affected region transmits more or less light than its surroundings. The result looks like a soft, diffuse dark or bright patch with no sharp boundary, which is why the industry calls it a bruise: it has the character of an injury rather than of a printing defect.
Its most distinctive property is that it can sometimes be temporarily reduced by pressing elsewhere on the panel, because the stress distribution changes. That behaviour distinguishes it from a particle or a cell defect and is the fastest diagnostic available on a bench.
The mechanism: load, gap and residual stress
Two outcomes are possible, and only one is temporary.
Where the load was elastic and the spacers return to their original positions, the mark fades over hours or after a thermal cycle. Where the load exceeded the elastic limit – deforming spacers, compressing the seal, or leaving adhesive stress in a bonded stack – the mark remains, and no amount of resting will remove it. The distinction matters commercially: a fading mark is a process warning, while a permanent mark is a rejection.
Bonding changes the picture, because a bonded assembly distributes load across the adhesive layer but transmits it to the cell through a much larger contact area. Bonded modules are therefore less prone to point-load bruising but can show broad, low-contrast marks when the bonding fixture applies uneven pressure.
Where pressure marks are introduced
Four stages account for almost all of them.
During assembly, marks come from pick-and-place tools, clamps and manual handling that presses on the active area. During bonding, they come from uneven fixture pressure or from a print step that concentrates force along the printed border. During packing, they come from trays and foam that press on the panel face and, more often, from stacking that loads the cartons beyond the packing design. During final mounting, they come from enclosure features – screw bosses, clips, gasket corners – that apply point loads to the module.
Because each stage leaves a different signature, the location of the mark on the panel is the first clue: a mark at a screw position points at the enclosure; a mark along an edge points at a fixture or a tray; a mark in the centre of the panel usually points at handling or stacking.
Why they often appear after shipping rather than at final test
The damage may happen at test, and only become visible later.
A mark that is marginal at the time of assembly can be invisible on a warm panel and become obvious after the unit cools, after thermal cycling, or after a few days of stress relaxation in the adhesive. This is why pressure marks are a classic “shipped good, arrived bad” complaint, and why inspecting only at end of line is not sufficient evidence that the supplier shipped a defective unit.
The practical counter is to include an after-cycling inspection in the qualification and, for packaging, a transit test with the production carton. Compression testing the packed carton to the stacking load it will see is a small test that removes a recurring cause.
Detection: flat field, angle and cycling
Uniform patterns at two angles reveal what content hides.
A pressure mark shows up best on a uniform grey or white field, viewed on axis and then at 30 to 45 degrees, because the apparent contrast changes with angle. Inspecting after thermal cycling, and again after the unit returns to room temperature, separates the permanent marks from the recoverable ones. Where the mark is faint, recording a fixed-exposure photograph from the same geometry at each stage produces a comparison that survives the argument about what was visible.
Where the defect density justifies it, automated optical inspection adds consistency, since the same illumination and threshold are applied to every unit. CDTech’s notes on how AOI detects defects describe the imaging approach.
Distinguishing pressure marks from mura and bonding voids
Three defects, three signatures.
A pressure mark follows a mechanical feature or a handling route and usually changes when the panel is flexed gently. Mura is a luminance non-uniformity that follows the panel’s own structure – the backlight pattern, the cell, or the bonding layer – and does not respond to pressure. A bonding void is sharply bounded by the geometry of the absence of adhesive, often visible under grazing light at the edge, and does not move. Recording which of the three is present determines whether the fix is a fixture change, a panel-lot question or a bonding process change.
CDTech’s notes on inspecting optical bonding quality describe the void and edge inspections that separate the bonding case.
AQL treatment: zones, sampling and after-cycling checks
Write the acceptance rule before the batch arrives, not after.
Pressure marks belong in the cosmetic acceptance standard, not in the pixel defect table. The standard should define a size threshold, a permitted count per zone (centre, general, edge), and a contrast criterion measured on a uniform field at a defined angle. Because the marks can fade or appear over time, the standard should also state when the inspection is performed: at final test, after a defined settling period, after thermal cycling, or all three.
The AQL logic follows the consequence: where a mark in the centre of a customer-facing screen would cause a return, inspect that characteristic with a tighter plan; where it is in the border and hidden by a bezel, sample. Recording the defect category and location per lot turns the inspection into trend data rather than a series of one-off rejections.
Fixture and tray design: removing the cause
Most pressure marks are designed in, not assembled in.
A bonding fixture should apply pressure through a compliant interface that spreads load evenly, with stops that prevent over-travel, and it should be checked with pressure-indicating film at intervals rather than only at commissioning. Trays should support the module at its edges and never touch the active area; foam should be selected so that it does not compress beyond the point where it bears on the panel face. Stacking limits should be printed on the carton and tested, not assumed.
Where the module is bonded, the print step on the cover glass deserves attention, because a raised printed border can become the highest point of contact and concentrate load along its edge during lamination.
Mounting design: avoiding point loads in the enclosure
An enclosure can bruise a display months after installation.
Point loads from screw bosses, clip features, uneven gasket compression or a warped front panel all transmit into the module, and the resulting mark appears in the same place on every unit of that design. The countermeasures are a compliant interface between the module and the enclosure, load distributed through defined pads rather than through fasteners, and a mounting surface flat enough that the gasket compresses uniformly. CDTech’s notes on mounting design and load paths cover the mechanical patterns that cause this.
Where a mark appears in the same location on many units in different installations, the design is the cause; a single installation with a mark points at assembly practice at that site.
What to ask a supplier when pressure marks appear in a lot
Ask for the stage, the fixture records and the corrective action.
The useful questions are: at which stage was the mark introduced, and what evidence supports that; what were the fixture pressure settings and the tray configuration for the affected lot; whether the marks are permanent after thermal cycling or recoverable; and what process change will prevent recurrence. A supplier that answers with the fixture records and an inspection change has found the cause; one that answers with a credit has not.
Certificates behind the supplier’s process control can be checked as described by the International Accreditation Forum, and independent environmental testing scopes are published by laboratories such as Intertek. Workmanship expectations for the assembly are published by bodies such as IPC, and chamber capability for the cycling and transit tests by equipment suppliers such as Weiss Technik and Thermotron.
FAQ
Can a pressure mark disappear on its own?
Sometimes. If the load was within the elastic range and the spacers return to position, the mark fades over hours or after thermal cycling. If the load deformed spacers, compressed the seal or left stress in a bonded layer, the mark is permanent and the unit should be rejected.
What does LCD bruising mean?
It is the industry term for a pressure mark: a local change in cell gap caused by mechanical load, visible as a soft dark or bright patch with no sharp boundary. It behaves like an injury rather than a printing defect, which is why it can change when stress is redistributed.
How do I stop pressure marks during packing and shipping?
Support the module at its edges, never load the active area, select foam that does not compress onto the panel face, limit stacking to a tested value and verify with a carton compression test. Inspecting after a settling period or thermal cycle catches the marks that only appear later.
Where should pressure marks be covered in an acceptance standard?
In the cosmetic standard rather than the pixel defect table: size threshold, permitted count per zone, contrast measured on a uniform field at a defined angle, and the inspection stage (final test, after settling, after cycling). The sample plan should follow the consequence of a miss.
Next step
Send photographs of the mark, its location on the module and the mounting drawing to CDTech; the reply will indicate which stage is likely responsible and which fixture or design control applies.
Contact sales@cdtech-lcd.com or use the contact page; quality and factory compliance material is at quality assurance and factory compliance.
Related articles
 Second-Source Qualification for Display Modules Without Doubling Your Inventory RiskQuality, Testing & ComplianceIncoming Inspection for Display Modules: What to Check and How OftenQuality, Testing & ComplianceEMC Certification for Display Products: Passing the First TimeQuality, Testing & ComplianceScreen Damage Modes: Distinguishing Production Defects From Field DamageQuality, Testing & Compliance