RMA and 8D Field Failure Analysis for Display Modules
Much of what the RMA is trying to reconstruct could have been captured at goods-in: see what to test when LCDs arrive and how AQL inspection sets the sampling rule. By the time a…
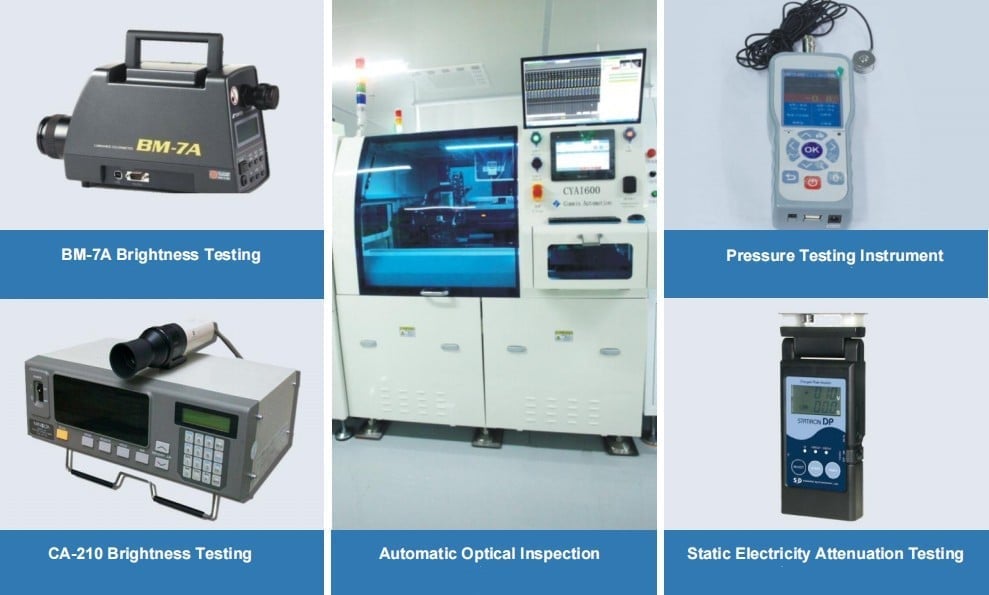
Much of what the RMA is trying to reconstruct could have been captured at goods-in: see what to test when LCDs arrive and how AQL inspection sets the sampling rule. By the time a display reaches the returns desk, most of the information that would explain the failure has already been lost. Nobody recorded the temperature, the position, whether the fault appeared at start-up, or what the unit was doing when it failed.
An RMA process exists to capture that information before teardown destroys it – and to produce a cause rather than a replacement.
Structuring the RMA so information is not lost
The four fields are worth repeating because they carry most of the diagnostic value: the customer’s own description, when the fault started, whether it is intermittent or permanent, and the conditions at the time. Everything else can often be reconstructed later; these four cannot, because they exist only at the moment the unit is removed.
The process starts at the point of failure, not at the returns desk. Whoever removes the unit should record four things: what the user observed, when it started, whether it was intermittent or permanent, and the conditions at the time.
A structured form with these fields as mandatory is usually enough. A free-text description without conditions produces returns that cannot be analysed.
Data to capture at return
Capture the customer’s words as well as the technical fields. The description “it goes blank when the door is closed” is worth more than any structured field, because it names a condition. Where possible, record the phrase verbatim and translate it into a test condition later, rather than summarising it into a category at the first opportunity.
Capture the customer’s words as well as the technical fields. The description “it goes blank when the door is closed” is worth more than any structured field, because it names a condition. Where possible, record the phrase verbatim and translate it into a test condition later, rather than summarising it into a category at the first opportunity.
At the point of return, add the identifiers: serial number and production date, the firmware and configuration version, the position in the product, the hours of operation, and any recent maintenance or firmware change.
Photograph the unit before unpacking it, then photograph the packaging, then the unit as removed. Transit damage and handling damage have distinct signatures, and they are easiest to identify from photographs taken in sequence.
Containment before analysis
Containment answers one question: does this failure affect units still in the field, in the warehouse or in production? If the failure could be systematic, containment precedes analysis because the risk of delay is greater than the value of a faster diagnosis.
Containment actions include holding stock, adding an inspection step, and notifying the supplier. Record what was contained and why, so the actions can be released when the analysis concludes.
Classifying the failure before teardown
Before opening anything, classify the failure by its behaviour. Electrical, mechanical, optical, thermal and interface faults each have characteristic appearances, and the classification determines what evidence you need.
Function-test the unit exactly as removed, and record the result. Many units work on the bench and failed in the machine, which is itself the most valuable piece of information in the whole investigation: it points at the environment, the enclosure or the installation rather than at the component.
Common failure families and their indicators
Two families are frequently mis-assigned: handling ESD and incoming damage. Both arrive as a dead or erratic unit, and both are often attributed to the supplier. Incoming damage has a physical signature at the package or connector; ESD damage usually has no external evidence at all and requires the return history to identify. Comparing similar units from the same shipment is the quickest way to separate them.
Two families are frequently mis-assigned: handling ESD and incoming damage. Both arrive as a dead or erratic unit, and both are often attributed to the supplier. Incoming damage has a physical signature at the package or connector; ESD damage usually has no external evidence at all and requires the return history to identify. Comparing similar units from the same shipment is the quickest way to separate them.
| Family | Indicators | First check |
|---|---|---|
| Incoming or handling damage | Cracked glass, damaged connector, damage concentrated at one point | Packaging photographs and incoming inspection records |
| ESD or electrical overstress | Dead interface, damaged driver, failure after a specific event | Interface behaviour and supply history |
| Mechanical stress | Uniformity change, patterns aligned with mounting points | Assemble and inspect with fasteners at torque |
| Thermal | Fails hot or cold, recovers after rest, colour or response changes | Functional test across the temperature range |
| Moisture or contamination | Corrosion at edges, intermittent touch, haze inside the stack | Sealing integrity and cleaning regime |
| Firmware or configuration | Works but behaves incorrectly, fails after an update | Version comparison with a known-good unit |
| Supplier process defect | Pattern repeated across a lot, no environmental trigger | Lot comparison against other production dates |
Analysis methods that prove a cause
Comparative analysis is the most powerful and least used method. Comparing a failed unit against a known-good unit from a different lot, and then against a failed unit from the same lot, separates lot-specific causes from design causes in a single afternoon. The comparison should use the same instrument, the same conditions and the same sequence, otherwise the differences you find may be differences in measurement rather than in the units.
A cause is proven when it explains the observed failure and can be reproduced by changing that one condition. Useful methods include: temperature testing to reproduce a thermal fault, flexing the assembly to reproduce a contact fault, and comparing a failed unit against a good one from a different lot to isolate a process difference.
What does not prove a cause is finding something unusual. A small mark, a slightly different colour or a marginal measurement explains the failure only if it is present in failures and absent in working units.
Applying 8D to display failures
Keep the analysis proportionate. Not every return needs a full 8D; a single unit with transit damage needs a replacement and a note, not a corrective action programme. Reserve the structured process for failures that repeat, that affect safety or that cannot be explained – and record the decision to run it, so the choice is visible later.
Keep the analysis proportionate. Not every return needs a full 8D; a single unit with transit damage needs a replacement and a note, not a corrective action programme. Reserve the structured process for failures that repeat, that affect safety or that cannot be explained – and record the decision to run it, so the choice is visible later.
The 8D structure fits display failures well, provided two disciplines are kept. First, containment and root cause are not the same step: containment protects the customer, root cause explains the event. Second, corrective and preventive actions are written as changes to a document, a process or a design – not as instructions to be careful.
Distinguishing supplier defect from design fault
| Observation | Points towards |
|---|---|
| Faults concentrated in one lot or date code | Supplier process |
| Faults spread evenly across lots and suppliers | Design |
| Fault appears only in one installation type | Interface between design and environment |
| Fault disappears when the enclosure is changed | Mechanical design |
| Fault appears after a firmware change | Configuration or integration |
| Fault appears after a specific event (storm, impact, wash) | Protection or handling, not the panel |
This is the decision the whole process serves, and three tests usually settle it. Is the failure concentrated in one lot? Does it appear in units from other suppliers or other designs? And does it disappear when the mechanical or electrical environment changes?
If it follows the lot, suspect the supplier process. If it follows the product, suspect the design. If it follows the installation, suspect the interface between them – which is where most disputes actually live.
Corrective and preventive actions
Corrective action fixes the units that exist; preventive action stops the recurrence. Both should be traceable to the cause, with an owner and a date, and both should be verified rather than assumed.
For a display, preventive actions are often specification changes: an added requirement, a changed acceptance criterion, a mounting tolerance, or a new test step in production.
Closing the loop with design
Turn the findings into requirements where possible. A mounting tolerance, a sealing requirement, a touch tuning condition or a change to the incoming inspection step are all concrete outputs of failure analysis, and they are the ones that reduce the next batch’s return rate rather than merely explaining this one’s.
Turn the findings into requirements where possible. A mounting tolerance, a sealing requirement, a touch tuning condition or a change to the incoming inspection step are all concrete outputs of failure analysis, and they are the ones that reduce the next batch’s return rate rather than merely explaining this one’s.
Field failures are the most honest feedback a display programme receives. Route the findings back to the people who specify and design the product, and keep a running list of failure families with their frequency.
Over a few batches, that list tells you more about which requirements matter than any specification review. When a failure does occur, send us the unit with the conditions and the sequence of observations – that evidence is what makes an analysis possible rather than speculative.
Frequently asked questions
Should a failed display be opened before it is returned?
Only if your agreement allows it, and only after the function test as removed has been recorded. Opening a unit destroys evidence that the supplier may need.
What if the unit works on the bench?
That is a finding, not a dead end. It points to the installation, the enclosure or the environment, and it usually means the investigation should move into the field.
How long should RMA records be kept?
At least as long as the product’s service life, and long enough to compare failure families across production lots.