Custom Touch Panel Manufacturing: From Sensor to Module
A custom touch panel is a stack of decisions: sensor type, electrode material, lamination method, controller, and cover. Understanding how a touch panel is manufactured—from patterning the sensor to integrating the controller and testing…
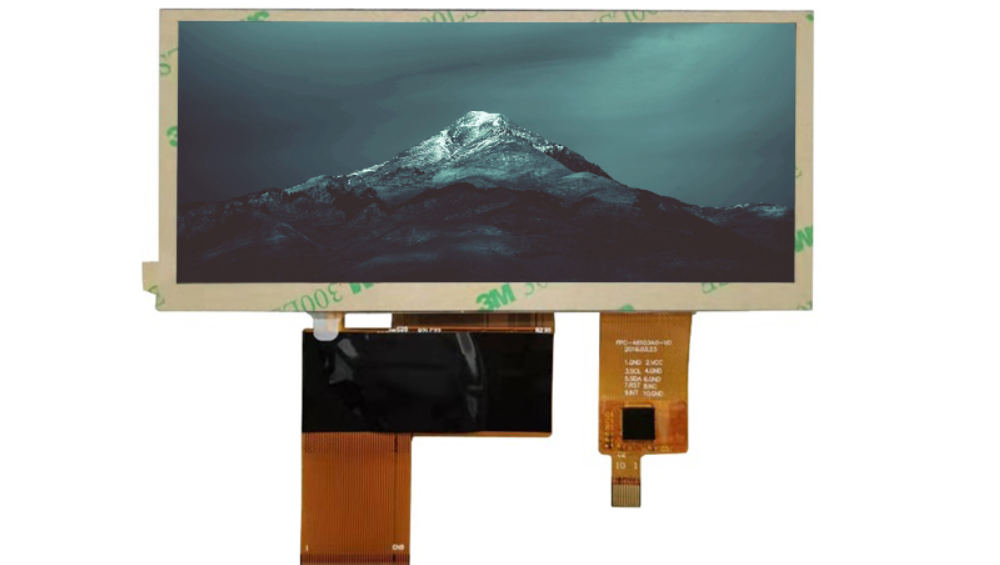
Touch Panel Types: PCAP and Resistive Constructions
PCAP panels build an electrode grid on a substrate and sense capacitance changes; resistive panels stack two conductive layers with a gap and sense pressure. The construction choice drives the entire manufacturing line: PCAP needs fine electrode patterning and a stable sensor substrate, while resistive needs precise layer spacing and film lamination. Technology comparison guides cover the selection; manufacturing turns the choice into a process.
Sensor Fabrication: Patterning ITO and Silver Mesh
The sensor is created by patterning transparent conductors. ITO (indium tin oxide) is the classic material, patterned by printing and etching into electrode shapes. Silver mesh is an alternative for larger sensors or lower sheet resistance, using fine conductive lines. The pattern, line width, and material affect optical clarity, touch sensitivity, and yield—so sensor fabrication is where the touch performance starts.
Stack Assembly: Laminating Cover, Sensor, and Panel
The touch stack bonds the cover, sensor, and display into one assembly. Lamination must align the layers and exclude particles and bubbles, because defects here show on the screen and shorten touch life. Bonding choices—air gap, OCA film, or OCR resin—are covered by their own guides; the manufacturing step executes the chosen stack under cleanroom control.
Controller Integration in Manufacturing: Firmware Config and Host Readiness
The controller is integrated at the module level: mounted on the sensor FPC, configured with the right firmware for the sensor and cover, and made ready for the host interface. Controller selection and capability belong to the controller guide; manufacturing’s job is to deliver a module whose controller is correctly configured and documented for the buyer’s host.
In-Process Testing: What the Manufacturing Flow Validates
Testing runs through the process, not just at the end: sensor checks after patterning, alignment checks after lamination, and functional tests after controller integration. In-process testing catches faults where they are cheapest to fix. Full reliability and QC methodology—touch life, ESD, environmental tests, and documentation—is the touch QC guide‘s topic; the manufacturing flow applies its checks at each stage.
Custom Options: Shape, Cutouts, Printing, and Firmware
Custom panels add options that must be planned into the process: shaped sensors and covers, cutouts for cameras or buttons, decorative printing on the cover, and custom firmware. Each option affects yield and lead time, so the drawing and specification must capture it before tooling. Define custom options by drawing and sample, and verify them on the first articles.
Frequently Asked Questions
How is a custom touch panel made?
By patterning the sensor (ITO or silver mesh), laminating the cover, sensor, and panel into a stack, integrating the controller, and testing through the process to the finished module.
What sensor materials are used?
ITO is the classic transparent conductor; silver mesh suits larger sensors or lower resistance. The material choice affects clarity, sensitivity, and yield.
What does the lamination stack include?
The cover glass, the touch sensor, and the display, joined by air gap, OCA film, or OCR resin under cleanroom control, plus the controller on the sensor FPC.
What custom options exist for touch panels?
Shaped sensors and covers, cutouts, decorative printing, and custom firmware—each defined by drawing and verified on first articles.
If you are specifying a custom touch panel, define the sensor type, stack, and options before tooling. CDTech supports custom touch module manufacturing across the custom LCD range—contact us with your drawing and requirements.