Testing a Touch Screen: Methods That Actually Find Faults
Touch screen testing that finds real faults: grid accuracy, edge tests, glove and wet tests, durability, ESD and the production fixtures that repeat results. | Target URL: https://blog.cdtech-lcd.com/touch-screen-test-methods/
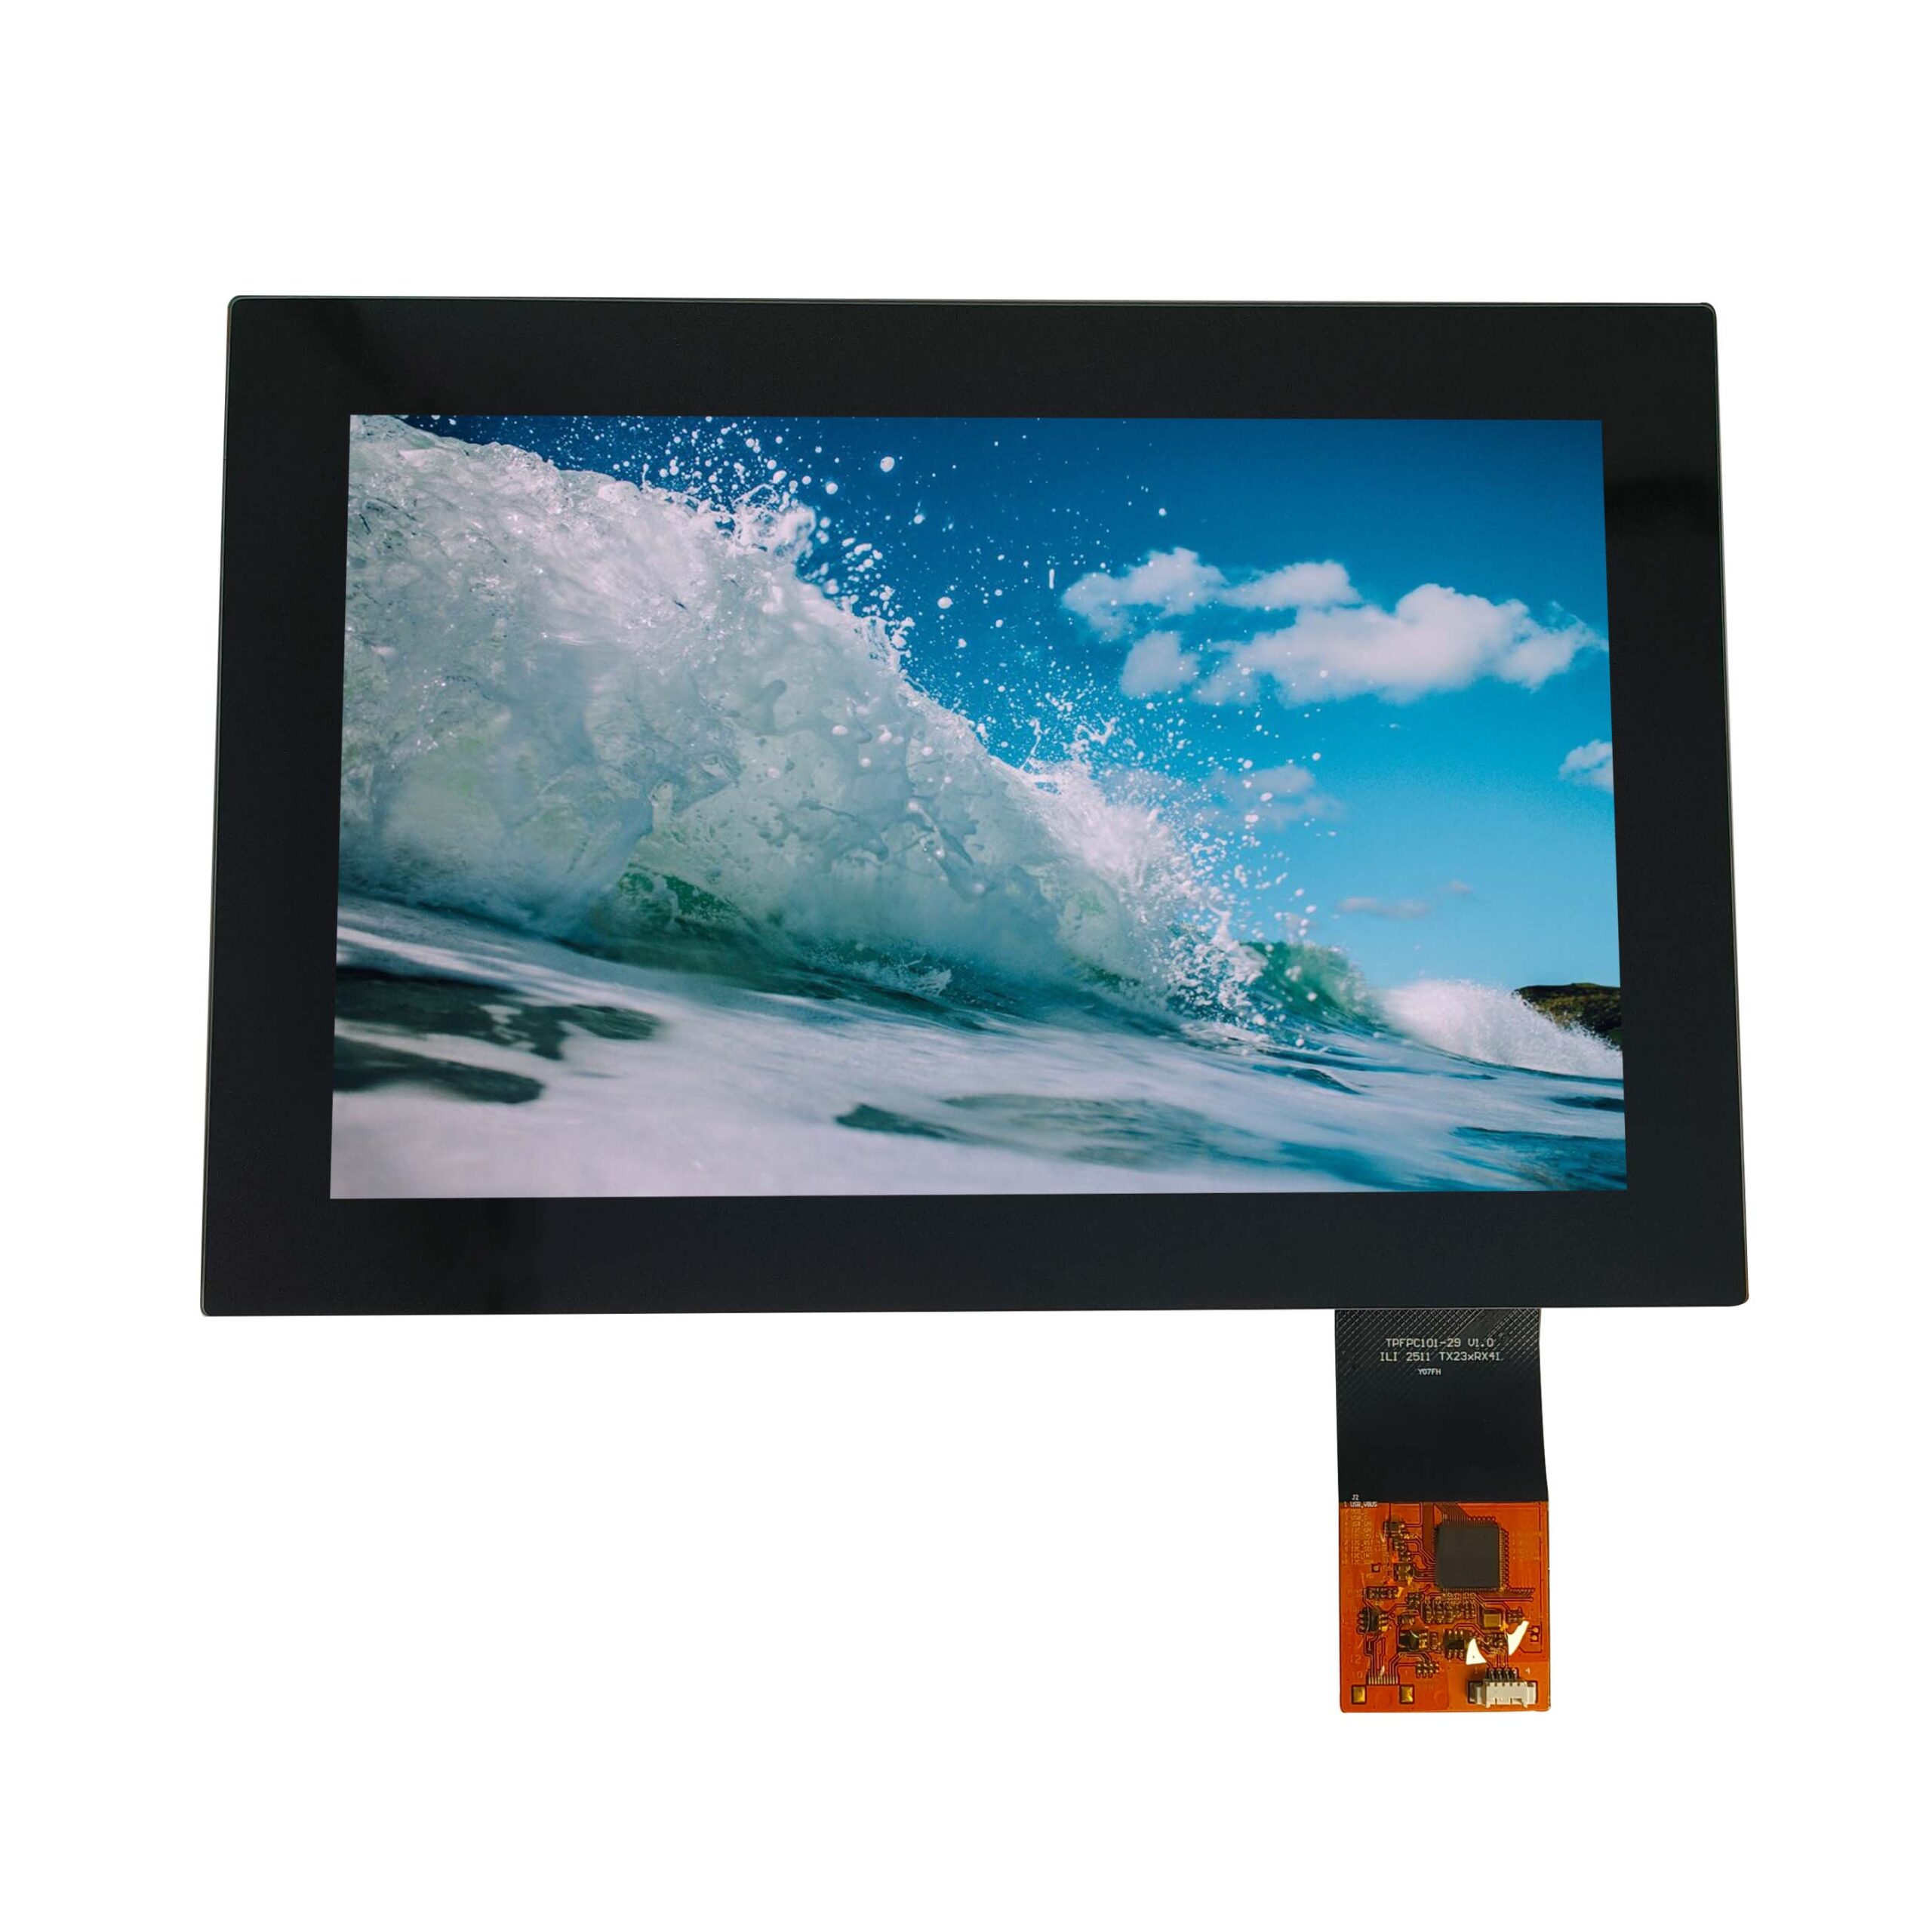
Most touch screen testing confirms that a working panel works. The tests that matter are the ones that find the failures users report: a dead band near the bezel, a touch that fails with a glove, a phantom press when the surface is wet, or an intermittent fault that appears after vibration. Designing those tests is a matter of choosing the right stimulus and recording a result that can be repeated.
Part of the Interfaces, Touch & Signal Integrity guide — 39 articles on RGB, SPI, LVDS, MIPI, eDP and the touch controller.
What a touch test has to prove
Six properties, each with its own test.
Accuracy – the reported coordinate against the intended one; linearity across the surface; edge behaviour, because controls cluster near the bezel; multi-touch behaviour where the interface uses gestures; input conditions, meaning gloves, water and debris; and durability, which covers press count, coating wear and electrical stress. A programme that covers only accuracy passes modules that fail in the field at the edge or with gloves.
Which properties matter most depends on the product: a public kiosk is dominated by edge accuracy and durability, a laboratory instrument by gloves and cleaning, a vehicle HMI by immunity and water.
The grid test: accuracy and linearity
A defined grid, a defined stimulus, a recorded result per point.
The standard test places a grid across the screen – typically 5×5 to 9×9 depending on size – and compares the reported coordinate with the target at each point. The outer ring matters most: report the outer 10 mm separately and add points in the corners, because that is where sensor geometry and bezel coupling produce the largest errors. A pass rate per point turns the test into data rather than a single verdict.
The stimulus must be defined as well: contact area, pressure, angle and dwell time. A finger and a mechanical actuator produce different results, and a test that does not state which was used cannot be compared with another.
Edge and corner testing
The perimeter is where field complaints concentrate.
Sensor coupling changes near the edge, and a bezel or gasket can shield the electrodes slightly, so the reported coordinate drifts inward by a few millimetres. The user experiences that as a button needing two presses. Testing the perimeter explicitly, with points 2 to 5 mm inside the visible edge and in each corner, catches the problem before the interface is designed around it.
Where the product has controls at the edge, the acceptance criterion should be an accuracy limit in that region rather than an average across the screen.
Glove, water and debris conditions
Test with the conditions the product will meet, not with a bare finger.
Gloves reduce the capacitive coupling change, while water films couple electrodes together and produce large, slow contacts that the controller may reject or accept incorrectly. Both should be tested explicitly, with the glove type the customer uses and a defined water application, plus debris such as sand or flour where the environment provides it. The result is a pass rate per condition, and the failing conditions show whether tuning or a design change is needed.
CDTech’s notes on gloved hands and rain describe the controller behaviour behind those results, and multi-touch sensing covers the gesture side.
Durability and press-count testing
Touch panels wear where they are used most.
A resistive panel’s outer layer and spacers wear with presses, while a capacitive panel’s surface coating wears with cleaning and sliding contact. The relevant tests are a press-count cycle at a defined load, an abrasion test on the surface, and a chemical wipe test with the cleaning agents in use. For capacitive panels, measure haze and gloss before and after, because coating wear shows as a change in appearance before it changes behaviour.
Where the display is used heavily, the design answer is to treat the front as a service item with a defined replacement path rather than to expect the surface to last the product’s life.
Electrical and environmental stress
Immunity is part of touch performance.
The tests that catch real failures are electrostatic discharge at the surface and the connector, radiated and conducted immunity with the machine running, and thermal cycling that changes the panel’s baseline capacitance. Symptoms range from phantom touches to a controller needing a reset. Recording raw touch data during these tests is far more informative than recording pass or fail, because recovery behaviour is what decides whether the user notices.
Static-discharge practice is documented by the EOS/ESD Association, and controller behaviour by touch controller vendors such as Synaptics and Goodix. Assembly and inspection expectations are published by bodies such as IPC.
Production test fixtures
Repeatability comes from the fixture, not the operator.
A production touch station should provide a stable supply, a defined stimulus – a mechanical actuator or a fixed contact pattern – and a recorded result per point rather than a pass or fail judgement. Fixtures that rely on an operator’s finger produce results that vary by shift and site, which makes trend analysis impossible. Where a full grid is too slow for the cycle time, a defined subset including the perimeter and one interior point per zone gives useful coverage at a fraction of the time.
The fixture’s own grounding and supply quality belong in its specification, because a badly grounded fixture damages the modules it tests.
Incoming inspection and sampling
Test the characteristics that cause returns, and record the categories.
Receiving inspection should cover the accuracy grid, the edge ring, the glove condition in use and a functional check of multi-touch where the interface needs it, with the sample size set by the consequence of a miss. Recording the defect category – dead zone, offset, failure with gloves – is what allows a trend to be seen; a count of rejects cannot be analysed. Rejected units should be kept for the supplier’s analysis.
Where the module is bonded and sealed, the touch test belongs on the assembled front rather than on a bare sensor, because the glass and adhesive change the coupling.
What to record for every test
Seven items make a touch test repeatable.
- The stack: sensor technology, glass thickness, bonding method and controller.
- The firmware and configuration version used.
- The stimulus: actuator or finger, contact area, pressure and dwell.
- The grid: number of points, positions and the outer ring definition.
- The conditions: glove type, water application, debris and temperature.
- The result per point as a pass rate or an accuracy figure.
- The display brightness setting, since backlight noise can affect the result.
With these recorded, two test runs can be compared and a disputed result resolved by repeating the same conditions. Related guidance is collected in CDTech’s quality assurance and factory compliance material and at the display and touch solutions centre.
FAQ
What is the best way to test a touch screen?
Use a defined grid of points with a defined stimulus, test the outer ring and corners separately, and repeat with the gloves and the wet or dirty conditions the product will meet. A test that only checks the centre with a bare finger passes modules that fail in the field.
Why does my touch screen fail near the edges?
Because sensor coupling changes at the perimeter and a bezel or gasket can shield the electrodes slightly, shifting the reported coordinate inwards. Testing points 2 to 5 mm inside the visible edge, and in the corners, catches the problem before the interface is designed around it.
How do I test a touch screen with gloves?
Use the gloves the customer actually wears, with a defined contact pressure and dwell time, and record a pass rate per grid point rather than a single result. Thin examination gloves usually pass with tuning; thick work gloves may need a resistive panel or physical controls instead.
Should touch testing be done on the bare sensor or the finished module?
On the finished, assembled module: the cover glass thickness, the adhesive and the bezel all change the coupling, so a result measured on a bare sensor does not describe the product. Test with the production firmware and the production stack.
Next step
Send the touch stack, the glove and water conditions and the interface in use to CDTech; the reply will state the achievable accuracy, the tuning window and the test method that verifies it.
Contact sales@cdtech-lcd.com or use the contact page, or start from the sample and quote request page.
Related articles
 Bring-Up Debugging: No Display, Wrong Colours, Flicker and Everything in BetweenInterfaces, Touch & Signal IntegrityIndustrial Displays in High-EMI Environments: Protecting Signals and TouchInterfaces, Touch & Signal IntegrityFHD Versus IPS: Separating Resolution From Panel TechnologyInterfaces, Touch & Signal IntegrityIntegrating a Touch Sensor With a Display StackInterfaces, Touch & Signal Integrity