Mura, Uniformity and Optical Acceptance: Writing a Standard Both Sides Can Enforce
Mura and luminance uniformity: causes, detection methods, measurement grids and how to write an optical acceptance standard both parties can enforce.
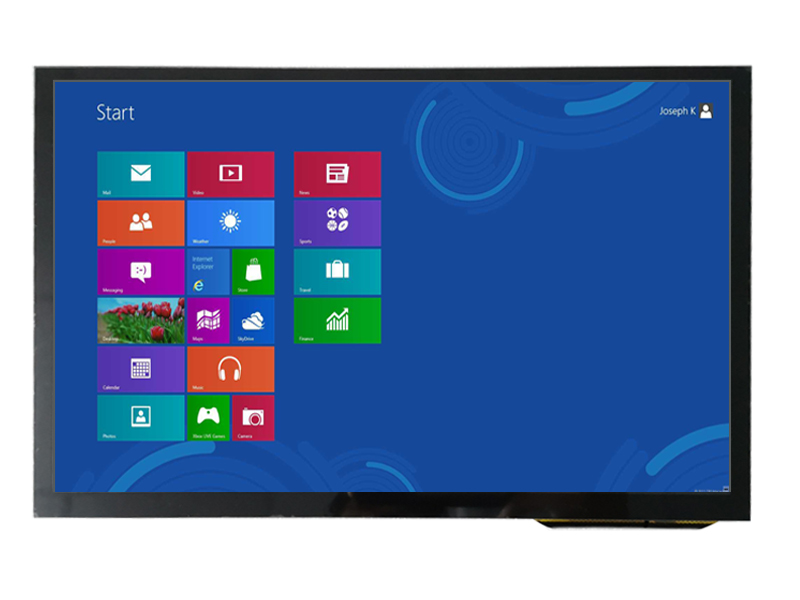
Mura is the defect class that causes the most arguments in display supply, because it is real, subjective and usually described in words. The way out is to convert it into numbers: a measurement grid, a definition of what counts as a defect, and limits agreed before the first shipment rather than after the first rejection.
Part of the Optical, Backlight & Panel Technology guide — 30 articles on bonding, cover glass, brightness and panel choice.
What mura is and why it matters
It is a local luminance or colour deviation.
Mura describes regions of a display where luminance or colour differs from the surrounding area in a way the eye perceives as a blotch, band or cloud. It can originate in the cell (cell gap variation, spacer issues), the backlight (light guide structure, LED placement, diffusion non-uniformity) or the optical stack (adhesive thickness variation, bonding voids, cover glass distortion). Because it is a low-contrast, large-area defect, it is often invisible in normal content and obvious on a uniform grey field, which is why acceptance testing uses flat fields.
The consequence of not specifying it is that one party’s “acceptable” and the other’s “reject” are both sincere and neither can be demonstrated.
Common causes in each layer
Source determines whether it can be fixed.
| Layer | Typical cause | Fixability |
|---|---|---|
| Cell | Cell gap variation, spacer distribution, driver uniformity | Panel supplier issue; usually not reworkable |
| Backlight | Light guide structure, LED spacing, reflector and diffuser condition | Often addressable by changing the backlight design |
| Bonding | Adhesive thickness variation, trapped particles, voids | Process control and inspection; sometimes reworkable |
| Cover glass | Print step, flatness, coating non-uniformity | Drawing-level fix |
| Mounting | Uneven mechanical load causing stress birefringence | Mechanical design fix |
Identifying which layer produces a given defect is the first step in fixing it, and it is also what determines whether the buyer pays. A defect that appears only after the module is mounted is a mechanical design issue, not a panel issue.
Detection: visual, photographic and measured
Three methods, increasing repeatability.
Visual inspection under defined illumination catches what a customer will see and varies between inspectors. Photographic inspection with fixed exposure and distance produces a repeatable record and allows comparison over time. Instrumented measurement with a luminance meter or imaging colorimeter produces numbers that can be compared with limits. The practical approach is to use the instrumented method to define the limits and the photographic method to enforce them, with visual inspection reserved for gross defects.
Whichever method is used, the conditions must be stated: viewing distance, illumination, background, whether the display is powered, and the test pattern shown. CDTech’s notes on measuring brightness, contrast and uniformity describe the measurement approach.
Defining a measurement grid and limits
Nine points is the usual starting point.
A standard measurement grid – typically 3×3, 5×5 or 9×9 points depending on the display size and the form of the defect – gives a set of luminance values from which uniformity can be computed as a ratio of minimum to maximum or as a percentage deviation from the mean. Limits are then expressed as a maximum deviation and, where relevant, a maximum local gradient between adjacent points, because a gradual variation is less objectionable than a step.
The grid should be large enough to catch the defects that matter. A 3×3 grid will not find a 10 mm blot, so where small mura is objectionable the grid must be finer or the inspection must be imaging-based.
Writing the acceptance standard
Make every criterion measurable and observable.
- Test patterns: uniform white, uniform grey at defined levels, uniform black, and the content used in service.
- Measurement grid: number and position of points, and the instrument’s geometry.
- Limits: maximum deviation from mean, maximum adjacent-point gradient, and any absolute minimum.
- Edge zones: separate, usually looser, limits near the border.
- Defect size threshold: the smallest defect that is counted, expressed in millimetres on the display.
- Inspection conditions: distance, illumination, and whether the display is viewed powered or unpowered.
The limit that causes most disputes is the smallest counted defect. Setting it explicitly, with a boundary sample, converts a matter of opinion into a measurement.
Relating uniformity to the application
The acceptable limit depends on what the display shows.
A shelf-edge price display showing large numerals tolerates far more non-uniformity than a medical imaging display showing subtle greyscale differences. Where the application is information-dense, the limit has to be tighter; where it is graphic, looser limits reduce cost without affecting the user. The useful specification states the limit in terms of the application’s requirement – for example, the maximum deviation that still allows the smallest character to be read – rather than in terms of an industry convention.
For imaging applications the DICOM greyscale framework provides a defined relationship between luminance and displayed value, and the uniformity requirement supports it; the standard is published through the DICOM standard pages.
Incoming inspection and long-term consistency
The standard only works if it is applied the same way every time.
Incoming inspection should use the agreed pattern, grid and conditions, with the results recorded per lot so that a drift can be seen before it becomes a rejection. Where the supplier also inspects, both sets of results should be comparable – which requires that the fixture, the instrument and the illumination are specified rather than left to each site. Disagreements about mura almost always trace back to two sites measuring differently rather than to a genuine difference of opinion.
Keeping a reference unit with a known appearance, and re-measuring it periodically, is a cheap way to detect a shift in the measurement setup.
Handling disputed defects
A defined process avoids escalation.
The workable process is: measure the disputed unit with the agreed method; compare the result with the limit; if there is a difference between the two parties’ measurements, compare the setups; and where the defect is at the limit, refer to the boundary sample. Where the dispute concerns a defect that appears only after mounting or after thermal cycling, the question becomes whether the assembly or the component is responsible, which is resolved by testing the component alone under the same conditions.
Recording the outcome of each dispute, and updating the standard where it was ambiguous, improves the standard over time rather than leaving the same argument to recur.
Where the specification should be recorded
Three documents carry the requirement.
- The purchase specification, stating the uniformity limits and the measurement method.
- The inspection procedure, stating the fixture, pattern, grid and illumination.
- The boundary samples, signed by both parties and held by each.
With those three in place, an optical acceptance discussion becomes a comparison rather than an argument, and new personnel can apply the standard without relearning it by trial. Adhesive behaviour that affects uniformity is documented by material suppliers such as Henkel and DELO, and haze measurement by ASTM D1003 where a surface contribution is involved.
FAQ
What is mura in a display?
Mura is a local deviation in luminance or colour that the eye perceives as a blotch, band or cloud on an otherwise uniform field. It can originate in the cell, the backlight, the bonding layer, the cover glass or the mounting, and identifying the source determines who can fix it.
How is luminance uniformity measured?
With a defined grid of measurement points on a uniform test pattern, using a luminance meter or imaging colorimeter at a stated distance and angle. Uniformity is then expressed as a percentage deviation from the mean, sometimes with an additional limit on the gradient between adjacent points.
Why do mura disputes happen so often?
Because the defect is described in words rather than measured. Disputes usually trace to two sites using different patterns, distances or illumination. Agreeing a pattern, a grid, limits, a boundary sample and an inspection procedure beforehand removes most of them.
Does mura appear after assembly rather than in the component?
Yes, in some cases. Uneven mechanical load from the mounting can produce stress that shows as non-uniformity, and thermal cycling can change bonding quality. Testing the component alone under the same conditions distinguishes an assembly effect from a component defect.
Next step
Send the application, viewing conditions and the smallest feature that must remain readable to CDTech; the reply will propose uniformity limits, a measurement grid and boundary samples for the standard.
Contact sales@cdtech-lcd.com or use the contact page.
Related articles
 Optical Bonding for Outdoor Displays: UV, Thermal Cycling and Edge DelaminationOptical, Backlight & Panel Technology
 Backlight Driving and Dimming: PWM, DC and Hybrid Approaches ComparedOptical, Backlight & Panel TechnologyBacklight Lifetime and Lumen Maintenance: Predicting Real Service LifeOptical, Backlight & Panel Technology
 Anti-Glare and Anti-Reflective Coatings: Durability Under Real Cleaning and AbrasionOptical, Backlight & Panel Technology