How Are Custom LCD Sizes Made with 2nd CUTTING?
2nd cutting is the process of taking a finished standard LCD panel and cutting it to a custom size. It is how many non-standard display sizes are produced without designing a new cell from…

Why Cutting a Standard LCD Panel Is Hard
An LCD cell is two glass sheets sealed together with liquid crystal inside. The seal runs around the perimeter, and the driver routing enters along at least one edge. Cutting a finished panel means slicing through that structure and creating a new edge where the cell was sealed or where the liquid crystal sits close to the surface. If the cut crosses the seal or comes too close to the active area, the cell can leak, the liquid crystal can be damaged, or moisture can enter. The process requires knowing where the panel’s internal seal and routing actually are, which is why cutting is done to established formats and within defined limits rather than to arbitrary dimensions.
Common Failure Modes After Cutting a Panel
Failures after cutting fall into a few patterns:
- Edge leakage and moisture ingress — the new edge is not sealed properly, and liquid crystal or moisture escapes or enters over time.
- Light leakage at the cut edge — stress or seal disruption near the cut shows as bright edges or uneven illumination.
- Glass chipping and cracking — poor cutting technique leaves micro-cracks that grow under thermal or mechanical stress.
- Active-area damage — a cut too close to the active area damages pixels or the cell structure near the edge.
These failures are latent: the panel may look fine at first article and fail after temperature cycling or months in the field, which is why edge quality and sealing deserve verification, not just visual inspection.
How the 2nd CUTTING Process Makes Custom Sizes
The process starts with a standard panel whose internal structure allows cutting: the cut line must fall outside the seal and clear of the routing, inside the panel’s design margins. The glass is scored and separated along the cut line, the new edge is finished to remove chips, and the edge is sealed to protect the cell. The result is a custom-size panel with a functional active area at the designed position. The process is defined by the panel platform: each standard format has known cut limits, and suppliers cut within them rather than promising arbitrary sizes.
Tolerance and Quality Checks After Panel Cutting
After cutting, the checks that matter are dimensional and structural: the finished outline and active-area position against the drawing, the cut edge quality under magnification, sealing integrity, and optical behavior near the cut under backlight. Dimensional tolerance after cutting is defined by the process and the panel; verify it on samples rather than assuming the original panel tolerance carries over. Reliability samples should include thermal cycling, because that is where weak edges and seals fail.
What Custom Panel Cutting Enables for Your Product
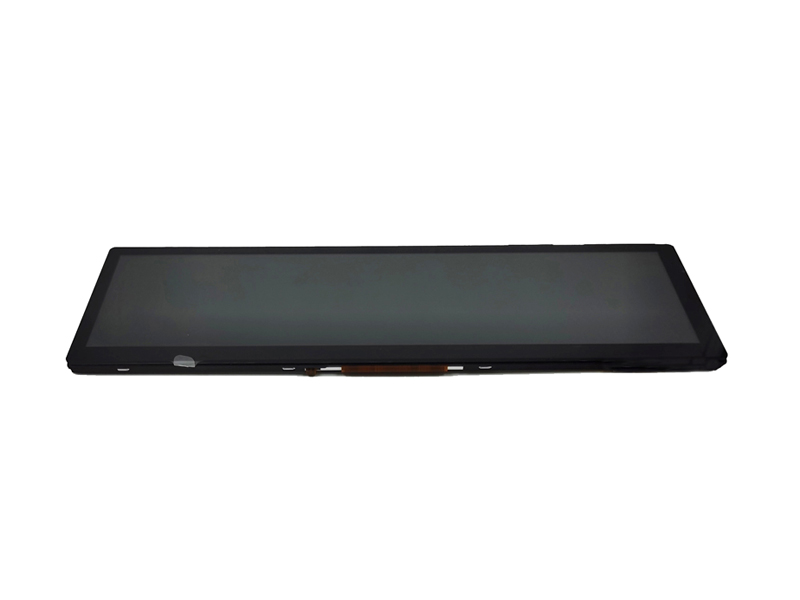
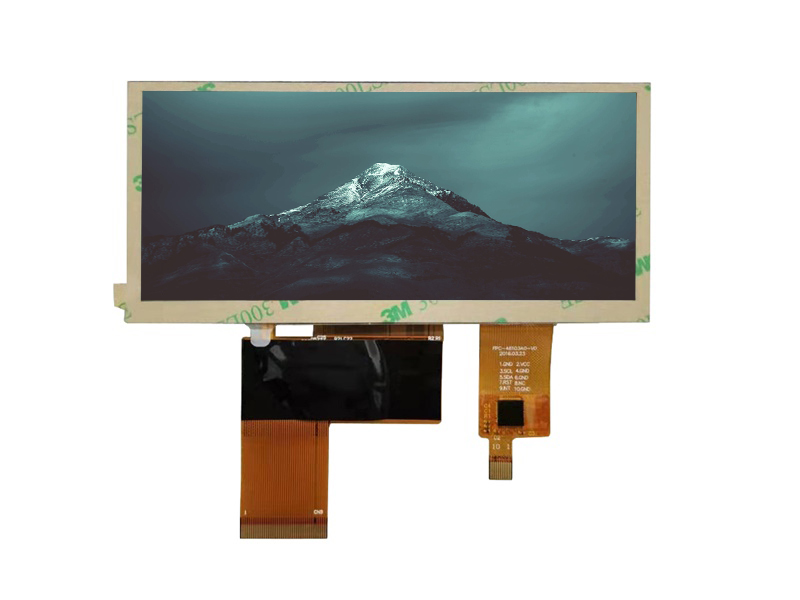
Cutting enables product designs that standard sizes cannot serve: enclosures with unusual active-area dimensions, ultra-wide or custom aspect ratios, and displays sized to fit a housing without a large bezel. It also lets programs reach custom sizes faster and at lower cost than designing a custom cell, because the standard panel’s supply and quality base carry over. Cutting is a flexibility tool—the size possibilities are bounded by the panel platform, but within those bounds it opens the design space that makes custom-fit products practical.
How to Verify a Custom-Cut LCD Supplier Before Ordering
Verify the supplier’s cutting capability with evidence, not promises: which panel platforms they cut, the achievable tolerance and size limits, the edge-sealing method, and quality data from prior cut programs. Ask for samples with dimensional and edge-quality measurements, and reliability evidence including thermal cycling. Claims about specific feature sizes or capabilities should be confirmed against the supplier’s own data, because cutting performance is process-specific. The supplier verification framework applies; the cut process adds its own questions about edges, tolerances, and sealing.
Custom Size Decision Checklist: What to Verify Before Ordering
- Confirm the size falls inside the panel platform’s cut limits.
- Verify the active-area position and finished outline on a sample drawing.
- Require edge-sealing evidence and cut-edge quality inspection.
- Confirm the tolerance the supplier can hold for the format.
- Require thermal-cycle or reliability evidence for the cut configuration.
If you are considering a custom size through panel cutting, verify the platform limits, edge sealing, and sample measurements before ordering. CDTech supports custom-size LCD programs across the custom display range—contact us with your size requirement.